Thursday, April 30, 2015

Spring Snow Globe Baby

Hi everyone! I am here to share a very quick post with my Eileen Hull's Art with Heart Challenge project...with only hours to spare I might add...YIKES! 
The bases of my project started with this empty jar that had Prima flowers in it. I thought wouldn't it be perfect if I could somehow turn it into a snow globe??? After much thought and looking at my different diecuts I thought the Cookie Box die would make a perfect  base for the snow globe. I cut it from Mat Board , grungy looking cardstock, printed the Tinted Babies printable and fussy cut out and then added embellishments. Below is the finished results. 


I did center and trace the lid from the bottle on the diecut and then used a box cutter to cut a hole in the center. It fits perfectly and all I did was add a little bit of glue to keep it from coming out of the cookie box.


I also used the Holiday Greenery Die to cut the small flowers and leaves out. It added the perfect touch to the snow globe.


On a side note...I am almost finished with my NEW craft room/studio!!! It has taken almost a month and I am so ready to get all my craft supplies out of boxes and into shelves and cabinets! My parents have helped with the whole process which I am so thankful for them. This morning they brought my drafting table that I used in college to the house. I am loving the fact that I will have a table for my computers, printers and other electronically stuff on one wall and my drafting table will be facing the window so I can look outside for inspiration. :-) I think I will also have enough room for a small table  to put in the center of the room in case I want to have friends over to craft with me. ;-) So if you have been wondering why I have been missing in action that is why. :-) 


Thanks for stopping by, hope your Thursday is awesome and enjoy creating!


Wednesday, April 29, 2015

Altered Pages: A Day at the Beach Mini Album

Hi everyone! I am here to share a mini journal I created for an upcoming trip to the beach. I wanted something that was small and wouldn't take up much space and that I could use my Instax printer to print off 2"x3" photos. 


For more on how to create this mini please hop on over to the Altered Pages blog and check out my post here!

Thanks for stopping by, hope your Wednesday is wonderful and enjoy creating! 


Tuesday, April 21, 2015

Travel Journal

Hi everyone! I'm here to share a few photos and a quick video of a travel journal I created for a swap I am in over on Junk Journal Junkies Facebook Group. Lori aka Just a Girl From the Bay from YouTube hosted this swap. If you get a chance please stop by her YouTube channel and check out some of her journals she has created...let me say they are stunning!!!


For this swap we had to use a 6"x9" clasp envelope as the base for our journal. It also had to have pockets, tuck spots and tags. I kept the inside pretty simple so whoever winds up with my journal will have plenty of room to add photos and places to journal. 


A close up of the flap.


The spine looked so naked that I added ribbon and fiber to it.


Here is a quick flip through video showing the inside. If you have any questions please let me know.


Thanks for stopping by, hope your day is wonderful and enjoy creating!


Sunday, April 19, 2015

Vintage Armoire Treat Bag

Hi there! I am back to share a quick project I created using the Sizzix's Armoire Treat Bag Cover. I have had this diecut for quiet awhile and I am just now getting around to using it for the first time. Now I am wondering why I have waited so long??? I absolutely love it and fore see me creating more of these in the future :-) 
I used the Cosmo Cricket Sweet Disposition Collection, along with lace, buttons, sequins and Dew Drops to create this adorable project.


I filled a little zip lock baggy full of goodies as a small token of thanks for someone that did me a favor. Also I put a crease in the bottom on the treat cover so it will mail flat.


If you have any questions about this project please let me know.


Thanks for stopping by, hope your Sunday is wonderful and enjoy creating!


Saturday, April 18, 2015

Crafty Card Gallery: Celebration Seeds

Hi there! I know it has been awhile since my last post but me and my hubby are now first time grandparents...we are very happy, my son moved but stayed in state...insert a crying face even if we are two hours away and I have FINALLY started my long awaited craft room which we are still in the middle of doing. My parents came over to help and I am so thankful for them because I would have pulled out my hair with some of the crazy things that happened with the ceiling. After scraping the popcorn off the ceiling the paint crackled and flaked not once but three times which wasn't fun let me tell you. That meant scraping three different times and dealing with dust but now it looks great along with the new paint color that is on the walls. Hopefully next week my parents will be back to install the new floors. :-)
Well, I would like to share a card I created for Crafty Card Gallery and this month's theme is flowers. What I created isn't a card but a little gift bag which you can put a card inside, gift card or something fun.
I started out with a 5"x7 1/2" Large Paper Bag which I cut the "flap" off and punched the top of the bag with a decorative punch. Cut and adhered a 5"x5" piece from the Take Our Breath Away Gypsy Moments Cardstock and ink the edges with green chalk ink. Then I adhered a Black Bookmark off center of the bag.


I cut the Best Wishes image from the Seed Packets on Ivory Cardstock. I love this collection. You can leave it as is or add paint/color the image.


I used pop dots to raise the image off of the bag. I also used thread, tulle, lace, pearl sprays, paper flowers and buttons to finish off the bag. I hope you like what I created and if you have any questions please let me know.


Supplies Used:
Other Supplies:Pink and Lime Green Thread, Lace, Tulle, Buttons, Paper Flowers, Martha Stewart Edge Punch, Pearl Sprays, Chalk Ink

Thanks for stopping by, hope your Saturday is awesome and enjoy creating!


Thursday, April 2, 2015

Mixing Bowls and a Cookie Box


Hi everyone and Happy Spring! It is finally warming up and I am so glad. I love that flowers have started blooming and the trees are starting to turn green. I want to share four projects I created using some of Eileen Hull's newest diecuts.
With Easter being this Sunday I decided for my first project I would create a mini Easter basket from a sheet of Little Sizzles Mat Board, patterned cardstock and the Cookie Box diecut. I inked the inside, edges and creases of the basket with Broken China Distress Paint before putting it together. I adhered the patterned cardstock to the outside of the basket, added the mini pom pom trim and punched holes on either side and ran a pipe cleaner threw each side of the basket to create a handle.


I used the Brenda Walton's Medallion diecut-658339 (which is retired) to added a fun twist to the front of the basket along with a vintage little chick sticker and I printed the Happy Easter sentiment from the computer to finish it off. Since I am on a 21 day no sweets or junk food ban I filled my little basket with crafty goodness.


My second project I have had this idea in my head since I first seen the cookie Box die but wasn't sure it would work. Not all the ideas that swim around in brain translate like I want at times but I am happy to say I made it happen. I turned the Cookie Box Diecut on its side to create some storage for some of my many rolls of washi tape I have. As you can see I glued two halves together by using my hot glue gun and I adhered six of the tabs to the ends/sides and cut the rest off to create the lid.


I painted the edges of the scalloped circles with Mowed Lawn Distressed Paint and covered with patterned cardstock.


I punched two small holes so I could add twine and knob as a closure for the chest.


I added paper flowers...store bought and handmade along with twine, thread, pearl sprays and the paper leaves are cut from the Holiday Greenery Diecut.


I adhered lace on the back of the chest to cover the edges of the cardstock I cut to define the base and the lid.


I glued four small spools to the bottom of the chest and adhered lace around the bottom to create a skirt.


Now it is ready to store some of my washi tape. :-)


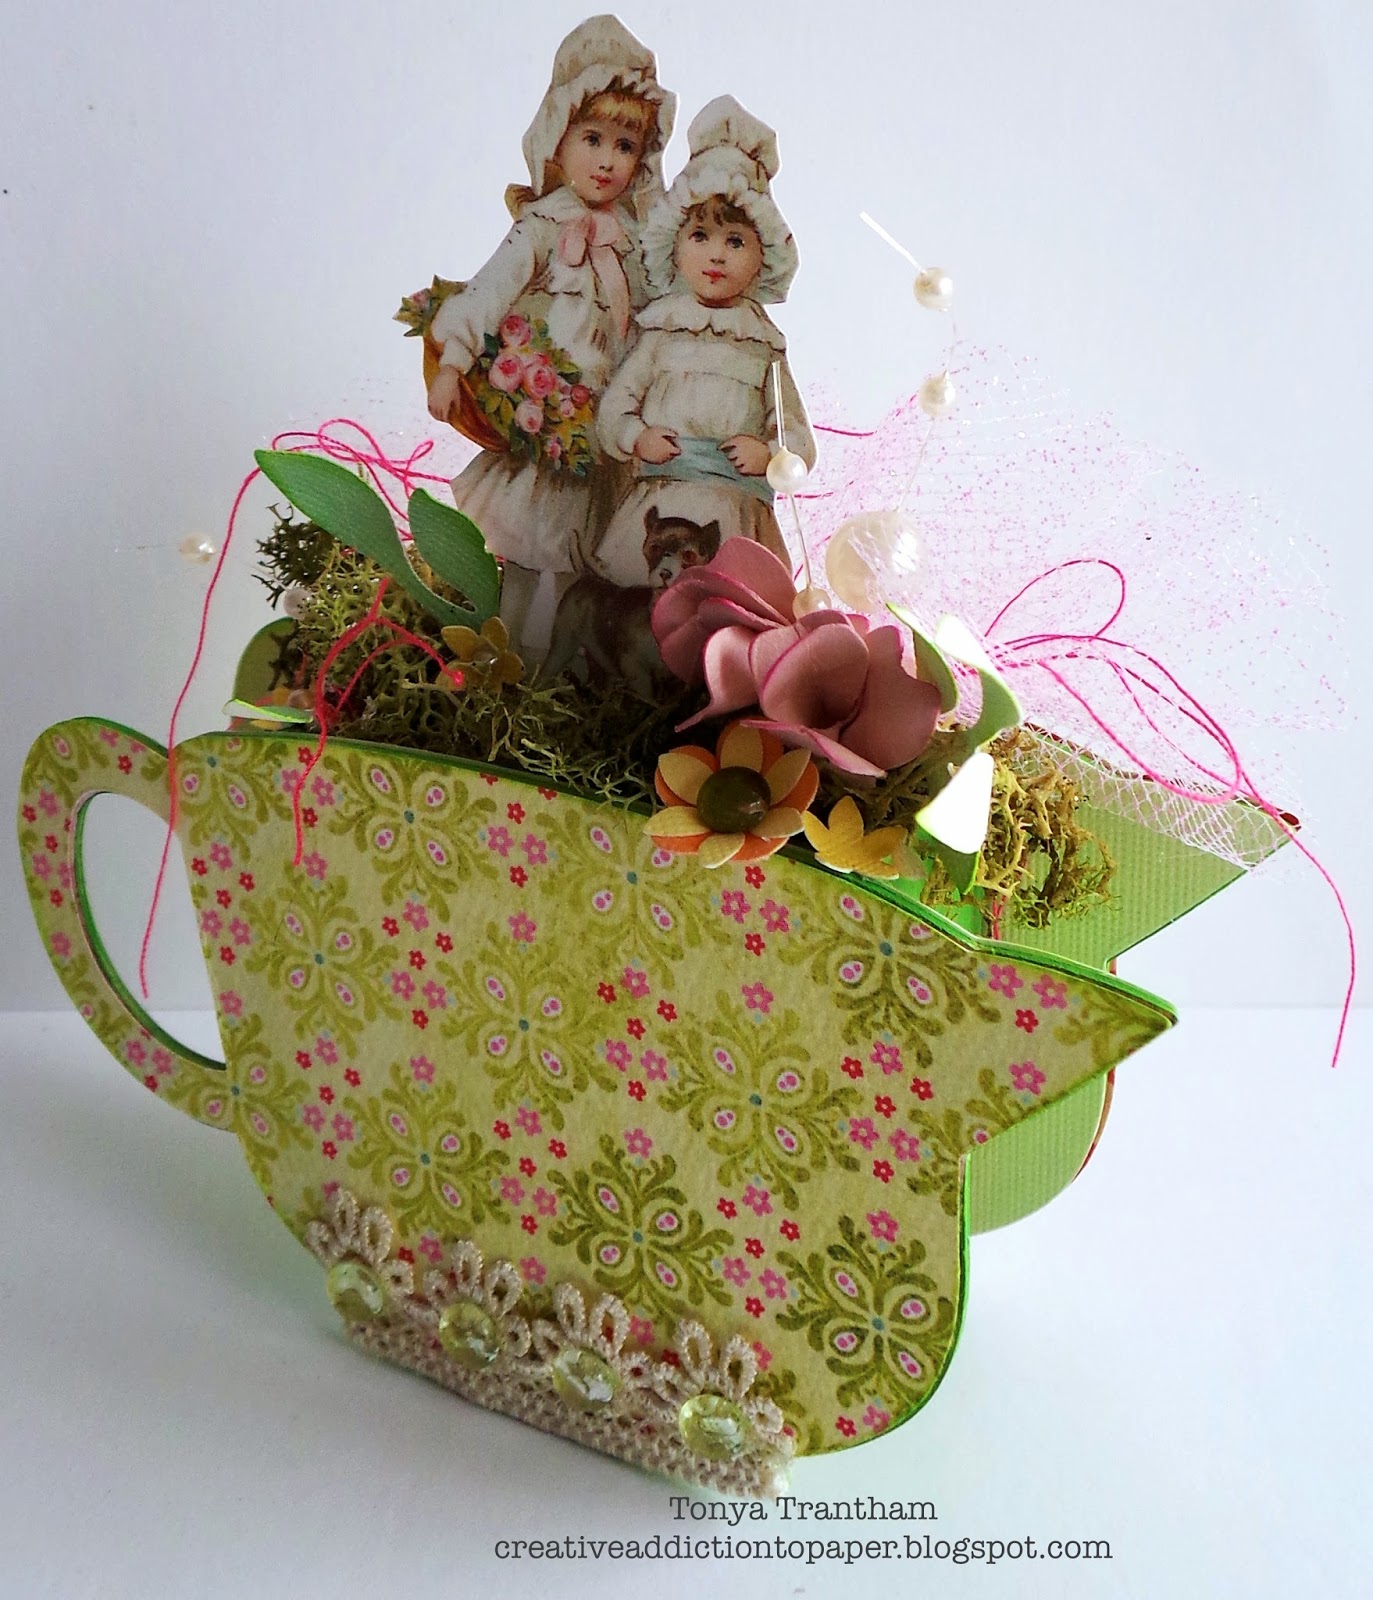
My third and fourth projects I cut two bowls each from the Mixing Bowl Diecut  and I also used the 3D Food Jar and Spoon Diecut "pocket" to create an adorable arrangement. I printed these little girls and the other little girl with bowl for the other mixing bowl and then fussy cut out. I purchased these from Eclectic Anthology.


I used the Rose, 3D Diecut (558504) along with the Holiday Greenery Diecut, a few punched flowers, tulle, thread and moss to add finishing touches to the bowl. 


This little bowl I kept simply by adding a little moss, paper flowers and leaves and I finished off the outside with lace and flatback pearls.


I have you have enjoyed all of my projects I shared with you today and if you have any questions about any of them please let me know.
Thanks for stopping by, hope your Friday is awesome and enjoy creating!