Thursday, November 29, 2018

Hello Flip Card

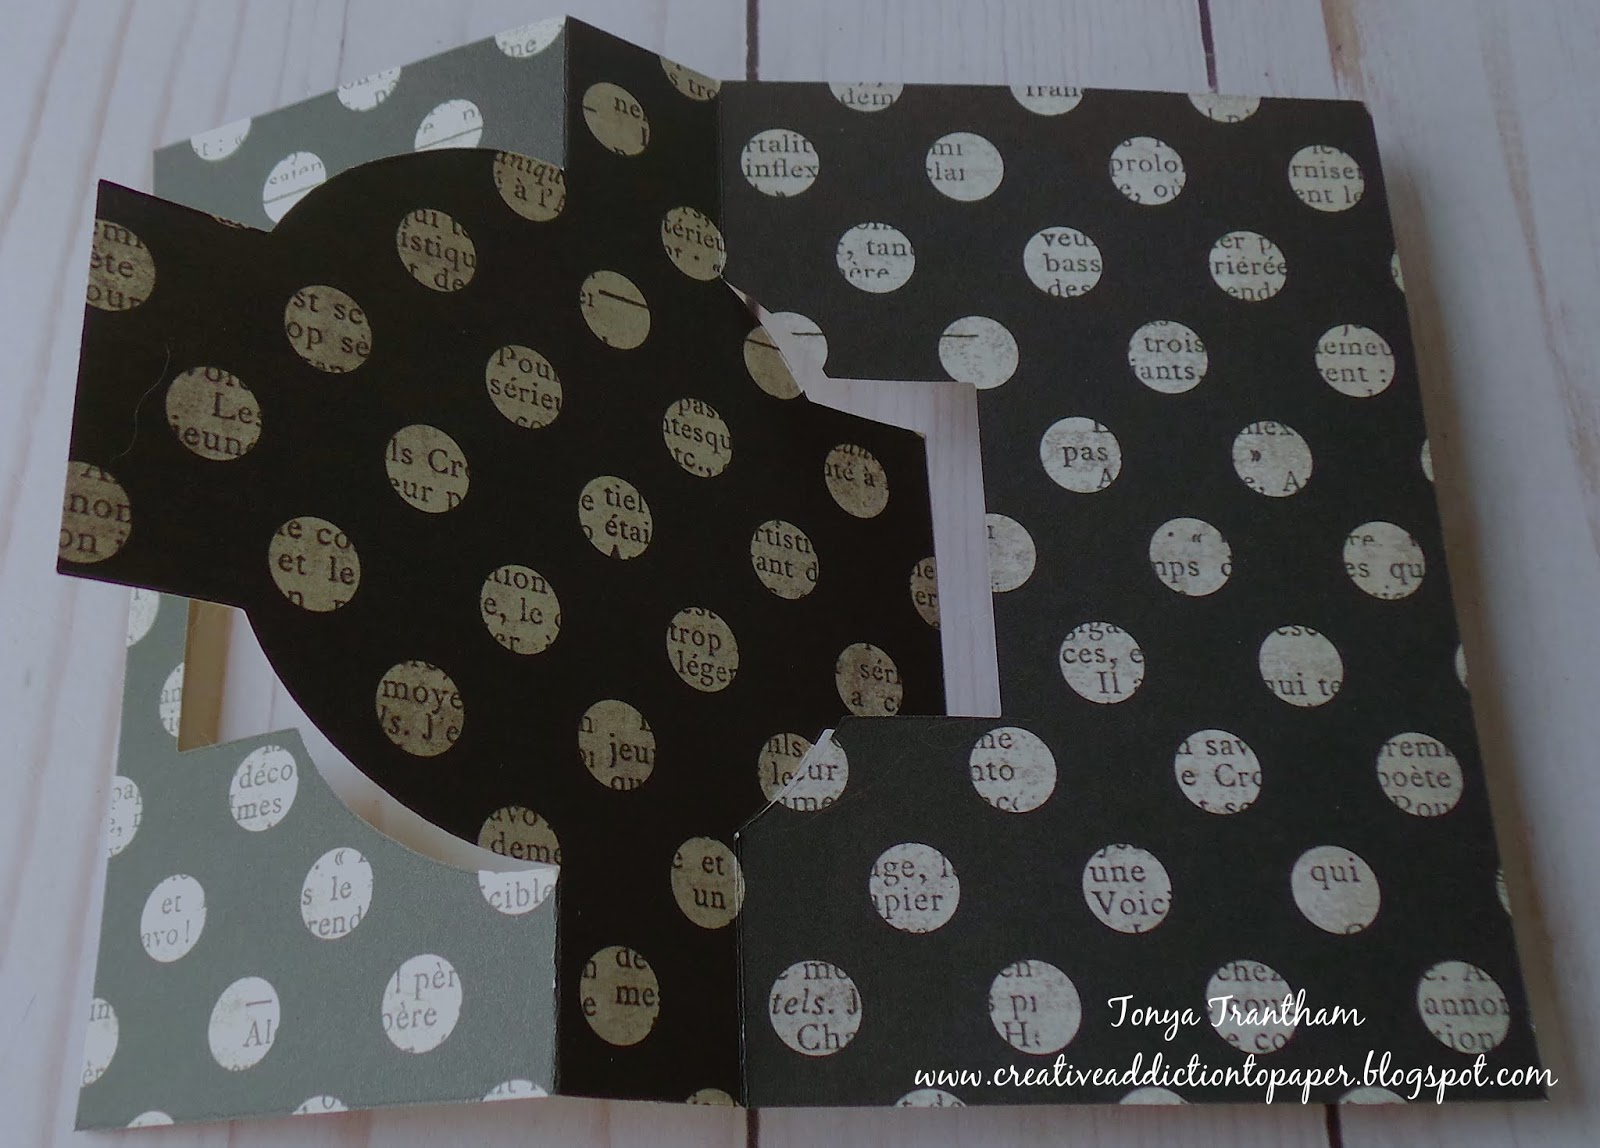
Hi everyone! I'm back with a quick card I created. I started by placing mint green cardstock on top of the Ornate Flip-its #2 Card Diecut and ran through the Diecut Machine.


Next I cut 1 5/8"x4 1/4", 1"x4 1/4" and 1/2"x4 1/4" pieces of patterned cardstock. I also cut from vellum a Tear Drop Circle Diecut with the diecut machine and adhered all pieces to the "flip-its" section of the card.


I inked the Hello stamp with Wicked Black Ink and stamp onto a piece of white cardstock and inked the edges with Ice Jade Chalk Ink and adhere to card. I cut four flowers and a leaf sprig from Crinoline fabric with the Journaling Cards Flowers and Leaves Diecuts and inked a glass tray with Salmon and Posy Dyestress Blendable Dye Inks. I added water to each color and place flowers into ink mixture and then removed and let dry.
I cleaned the glass tray and ink with Shamrock and Citronella Dyestress Blendable Dye Inks. I added water to each ink and placed the leaf sprig diecut in each color. and removed and let dry.


 I added a drop of adhesive to the center of three of the flowers and placed each flower on top of each other and pinched in the center and fluff. I glued the leaf sprig with only three leaves to the back of the flower and adhered next to the Hello sentimentI finished the front of the card by adding a sequin and flat back pearl to the center of the flower.


I cut a strip of white cardstock for the backside of the "flip-it"section of the card and adhere and added a small flower and two leaves to the white cardstock. I finished off with a sequin and flat back pearl to the center of the flower.


As always if you have any questions or just want to leave a comment please let me know.


Thanks for taking the time to stop by, hope your Thursday is wonderful and enjoy creating!


Tuesday, November 27, 2018

Eileen Hull: Christmas Floral Pocket

Hi everyone! I'm sharing my project I created for Eileen Hull's Inspiration Team today! I'm in the mood for something Christmas and this is what I came up with.


I started by adding Adhesive Sheets to both sides of the Chipboard and applying the patterned cardstock to both sides before cutting out the Flower Pocket Diecut.


I adhered the pocket together according the direction. I absolutely LOVE the Christmasy pattern of the cardstock that I used! I found  the paper at Hobby Lobby.


I cut several flowers from Crinoline using the Heart and Soul middle sized flower diecut. I added glue and pinched the center of once flower and shaped.


I also used the Holiday Greens Diecuts to cut some pine needles and holly which I lightly inked with Gold ink before adding to the pocket. 


I finished by adding gold thread and a mini pine cone to the flower and greenery. Be sure to stop by Eileen's blog for more inspiration from her team! You can find this month's posts HERE, HERE, HERE and HERE.


 I would also like to submit this project for the following challenges:

Word Art Wednesday Anything Goes: Challenge #362-#363
Crafter's Castle: Challenge #11


 Thanks for stopping by, hope your Tuesday is wonderful and enjoy creating!


Wednesday, November 21, 2018

Give Thanks Tag

Hi everyone! I wanted to share a quick tag I created for Thanksgiving. I had a lot of bits and pieces laying around for this project and it only took about an hour for me to create...this generally not the case when I make something. 😁I alway have leftover inks when I am creating other project so I grab a blank tag and lay the tag in the mixture and put it off to the side and let dry. So I now have something for later on to use as my base for a project and it is such a time saver too.


I embossed the tag with the Gridlock Embossing Folder and lightly inked over the embossed area with Nutmeg Blends Ink. I added banners that I had cut from patterned cardstock and a couple of circle punches to the top of the tag. I found this little girl and turkey image on the internet and printed and fussy cut. I added pop dots to the back and placed off to the side of the center of the tag.


I printed the "Give Thanks" sentiment from the computer and "Celebrate" sentiment I cut from a piece of cardstock. I inked the edges of the sentiments before adhering them to the tag. I had a leftover leaf sprig I had stamped from the Thankful Stamp Set. I had inked the sprig with Clear Top Boss Embossing Pad and applied Copper Embossing Powder but for the past project I was working on I didn't like the way it looked so I didn't use it. But for the this project I thought it added a nice touch to the cording, flower and buttons that I added to the corner of the tag. I glued another button to the top of the tag and finished by added lace to the top of the tag. 


I would like to submit this project for the following challenge:

Word Art Wednesday Anything Goes: Weeks #362-#363


As always thanks for stopping by and I hope your thanksgiving is wonderful and you get to spend it with people you love! Also enjoy creating!


Thursday, November 15, 2018

Thankful Gift Box

Hi everyone! Can you believe that Thanksgiving is only a week away?!?! Where has the time went to??? I thought I would share a little gift box I created for ClearSnap.


I carefully took a part and emboss each section of the box with the Wood Grain Embossing Folder. Next, I loaded three Art Daubers with the following inks: Candies Yam, Red Barn and Pumpkin Spice Inks and lightly rub in random spots to give a wood grain texture on the box. Once I got the desired wood grain effect that I wanted I put the box back together.


I inked a glass tray with Flagstone and Coconut Inks and add water to each color. I loaded a paint brush with Flagstone Ink mix and splatter each side of the box. Clean brush and load Coconut Ink mix and splatter each side. I fussy cut a doily from the DIY Shop Paper Collection and adhere to the top of the box.


I cut from the Crinoline fabric flowers using the Journaling Cards, Flowers and Leaves Diecuts and lightly ink the center of each flower with Canary Ink.


I added a drop of adhesive to the center of each flower. Next I laid each flower diecut on top of each other and pinched the center of all the flowers and shape.

I inked the feather stamp from the Thankful Stamp Set with Wicked Back Ink and stamp onto a piece of patterned cardstock. I did this twice and fussy cut each feather.
Next, I inked and stamped in Leather Ink the "Thankful" sentiment and two leaf sprigs. I also inked the edges of the sentiment with Butter Chalk Ink and fussy cut the leaf sprigs out and inked another leaf sprig with Clear Top Boss Embossing Pad. I added Copper Embossing Powder, set with a heat tool and fussy cut image out.


I glued the feathers, leaf sprigs and several loops of cording and thread to the upper corner of the box. I added the "Thankful" sentiment to the lid and finish off with flowers and sequins. 


I would like to also submit this project for the following challenge:

Word Art Wednesday Anything Goes: Challenge #360-#361


Thanks for stopping by, hope your Thursday is awesome and enjoy creating!


Wednesday, November 14, 2018

Lets Celebrate! Card

Hi everyone! I wanted to share a card I created for Eileen's birthday that was a couple of weeks ago! 


I started by cutting a Ornate, Flip-its #2 Card Diecut (retired) from double sided patterned card. 


On the back of the card I adhered to strips of patterned cardstock and printed from my computer the sentiments "It's Your Birthday!" and "Lets Celebrate". I cut out the "It's Your Birthday!" sentiment and glued to the strip.


From a piece of vellum I cut the Spellbinders Beaded Circles Diecut (retired but found a few on Amazon) and adhered to the flip part of the card along with two strips of patterned cardstock.


The digital image of the vintage women I purchased from Lisa's Altered Art which you can find HERE. I printed and fussy cut the image of the women with one of the party hat out and adhered to the card. 


I added Stickles to the collars and sleeves of each of the women's outfits and let dry.


I cut from various patterned cardstock a flower and leaf sprig from the Flower and Leaves Journaling Cards Diecuts, inked the edges of the flower with gold ink and covered the leaf sprig completely with Stickles (let dry first) and adhere both to the corner of the card.


I added the sequin, Glossy Dot and thread to the flower and finished by gluing the sentiment to the bottom of the card. My card got to Eileen a "little late" but that was ok because she got to celebrate her birthday just a little bit longer. 😉 As always if you have any questions about this project please let me know.


Thanks for stopping by, hope your Wednesday is wonderful and enjoy creating!


Friday, November 9, 2018

For You Gift Card Holder

Hi everyone and Happy Friday! I want to share a quick gift card holder I created.


I started by folding a piece of 6"x12" patterned cardstock in half and place slightly below the cut line of the House/Pocket Stitchlit and ran through the diecut machine. I adhered each side together to create a pocket.


I cut two roofs, two windows, one half window, one door and one chimney diecuts from patterned cardstock. I backed all windows with vellum before adhering to the house/pocket stitch lit  I also adhere roof to the top of the diecut. Before adding the door cut another piece of cardstock slightly larger than the door and adhere behind the door before adding to the house/pocket. Also add a sequin and a glossy dot to the door.


I cut another house/pocket but cut sides down so it will fit into the pocket. I adhered the chimney diecut to the pull out and cut and add a patterned cardstock mat to pull out. 


Next I cut a Book Plate and Book Plate Frame Diecuts from patterned cardstock and adhered the frame on top of the book plate. I snapped together the words "For" and "You" from the Max Stamp Pegz Letter Set and inked with Leather Ink and stamp onto a piece of white cardstock. I cut out each letter and adhere to the book plate.


I inked a glass tray with ColorBox Blends Frog Ink and added water. I laid one leaf sprig  from the Journaling Cards, Flowers and Leaves Diecut. and removed and let dry.


I inked the leaf sprig completely with Top Boss Clear Embossing Pad and applied Opalescent Embossing Powder to the whole leaf sprig and set with heat tool.


I punched two different size circles from a piece of patterned cardstock and adhere the smaller circle on top of the larger circle. I cut two medium flowers and one small flower from Crinoline fabric using the Journaling Cards, Flowers and Leaves Diecuts. I applied a dot of adhesive in the center of both medium flowers and placed one of the flowers on top of the other flower and pinched both flowers in the center and shape.


I inked the glass tray with  Pink Chalk Ink, add water and cover the small flower with ink mixture. Once dry I added a mini gem to the center of the flower and adhere to the center of the larger flower and glued the flower and leaf sprig to the circle tag. I created a bow with cording and adhere underneath the flower on the circle tag. I punched a hole at the end of the book plate, circle punch and the top of the house pocket and added cording to the book plate and circle and tie to the top of the of the house pocket.


The last step to completing the gift card holder I cut two Bookmark Diecuts from patterned cardstock, put together according to directions  and added to pull out. This will hold the gift card in place. There you have it! You can change the theme of the gift card holder to a gingerbread house, beach house, haunted house, etc. You are only limited by your imagination. As always if you have any questions about this project please let me know.


I would also like to submit this project for the following challenges:

Word Art Wednesday Anything Goes: Challenge #360-#361


Thanks for stopping by, hope your Friday is wonderful and enjoy creating!