Showing posts with label Brenda Walton. Show all posts

Sunday, December 3, 2023

Let's Make a Christmas Stocking from Diecuts

 Hi everyone! I share a great little gift idea on how to create a Christmas stocking using diecuts. For the how to's you can find that blog post HERE


Thanks for stopping by, hope your Sunday is wonderful and enjoy creating!


Thursday, June 11, 2020

Floral Spring House Rolodex


Hi everyone! I'm back again with a project I created for a swap I was in! For this swap we had to create three rolodex/memorydex cards plus decorate a small basket for Easter...I know Easter was several months ago. 😁 The swap was put on hold for about a month because of Covid19 and once everything started opening back up a new date was set for the swap. Well, by this time I got behind and I am just now getting caught up with my extra curricular projects.


I have an old Rolodex Diecut that I had purchased from Stampin' Up a very long time ago that I used to cut out my rolodex blanks. You can use store bought rolodex cards or here are links to Heidi Swapp's Memorydex Card Diecuts HERE and HERE.


I used Brenda Walton's Country Cottage 3D Diecut, Floral Tapestry Embossing Folder and Eileen Hull's Make It 3D Diecut (all retired) to created the house for the rolodex card. I used Chipboard that I covered in patterned cardstock to created the house and I also backed the rolodex with chipboard as well. I wanted the house diecut to be "thinner" than the original so I cut only the front and back and used the Make It 3D diecuts for the sides and then adhered to the rolodex card base.


I dug into my stash of flowers, leaves and butterfly punches and added those to the roof along with thread, trim and a gem for the center of the flower.


On the corner of the rolodex I adhered more flowers, thread and cheese cloth. And there you have it! The first rolodex of three that I have created. I will be back soon to share the other two rolodex cards. If you have any questions about this project please let me know.


Supplies

Heidi Swap: Memorydex Cards One and Two
Sizzix/Brenda Walton: Country Cottage 3D Diecut (retired)
Sizzix/Brenda Walton: loral Tapestry Embossing Folder (retired)
Sizzix/Eileen Hull: Make It 3D Diecut (retired)
Various Patterned Cardstocks
Beacon Adhesives: Zip Dry Adhesive
Flower, Butterfly and Leaf Spring Punches
Trim
Thread
Gems
Cheese Cloth
Pearl Sprays

(Products listed above are Affiliated Links for your convenience)

DISCLAIMERS
This blog is compensated to provide opinion on products, services, websites, and various other topics. Even though the owner(s) of this blog receives compensation for our posts or advertisements. I always give my honest opinions, findings, beliefs, or experiences on those topics or products. The views and opinions expressed on this blog are purely my own. Any product claim, statistic, quote or other representation about a product or service should be verified with each manufacturer, provider, or party in question.This blog contains affiliate links, clicking and shopping through these links helps to support and run Tonya Trantham Designs - Creative Addiction to Paper Blog at no additional cost to you. Today's features are Scrapbook.com Products. 


Thanks for stopping by, hope your Friday is great and enjoy creating!


Thursday, August 22, 2019

From this Day Forward Wedding Tag

Hi everyone! I'm back with a tag I created in honor of my son and daughter in law's wedding anniversary that is today. I had these photos laying around and I thought why not create something with them and this is what I came up with.


I started by placing a Size #10 Tag (upper half) in the Floral Tapestry Embossing Folder and placed  between two cutting plates and run through the Diecut Machine. I removed and place lower half of tag in the Floral Tapestry Embossing Folder and completed the same steps. I inked two Art Daubers with Leaf and Frog Blends 2 Inks and inked over the leaves and vines of the embossed areas on the tag. Next I inked three Art Daubers with TutuWildberry and Melon Blends 2 Ink and inked over the flowers of the embossed areas on the tag.


I placed the Geometrics Art Screen on top of tag, loaded two art daubers with Tutu and Melon and randomly ink areas of art screen and once I achieved the desired effect I removed the art screen. I inked the glass tray with Coconut Blends 2 Ink, added water to ink, loaded a Paint Brush with ink mixture and splattered the tag.


I cut two photos to fit the tag. I adhered the first photo slightly off the side of tag. The second photo I cut a piece of textured white cardstock slightly larger than the photo an inked an art dauber with Melon Blends 2 Ink and inked the edges of cardstock and then adhered the photo to the mat. I added Foam Pop Dots to back of photo and placed slightly off other side of tag.


I placed a scrap of white cardstock on top of the Journaling Cards, Flowers and a piece of Crinoline Fabric on top of the Leaves Diecuts and run through the diecut machine. I shaped two flowers diecuts with a Stylus and adhered together and added two sequins and a gem to center of the flower.


Next I inked an art dauber with Frog Blends 2 Ink and inked the fabric leaf. Once dry I adhered to back of flower and added to the bottom of the photo.


I looped several threads to create two messy bows and adhered one under the flower diecut and other under the smaller photo along with a few pearl sprays.


 I finished the tag by cutting two nine inch pieces of seam binding and tying into a bow at the top of tag. As always if you have questions about this project please let me know.


Supplies

ColorBox/Eileen Hull: Tutu Blends 2 Ink
ColorBox/Eileen Hull: Wildberry Blends 2 Ink
ColorBox/Eileen Hull: Melon Blends 2 Ink
ColorBox/Eileen Hull: Leaf Blends 2 Ink
ColorBox/Eileen Hull: Frog Blends 2 Ink
ColorBox/Eileen Hull: Coconut Blends 2 Ink
ColorBox: Art Daubers
Sizzix/Brenda Walton: Floral Tapestry Embossing Folder
Glass Tray 
Seam Binding
Pearl Sprays
Sequins
Gem
Tag: Size #10
Thread
Beacon Adhesive: Zip Dry Adhesive
Crinoline Fabric

(Products listed above are Affiliated Links for your convenience)


Thanks for stopping by, hope your Thursday is great and enjoy creating!


Thursday, April 18, 2019

Spring Flowers Medallion

Hi everyone! I'm back today to share my project I created for Momenta! I wanted to create something floral that I could display on my fireplace mantel with all of my other knick knacks and since I had never created a large medallion I thought the Peony Paper Pad would be perfect for this project.


 I started by cutting out six  medallion"panels" from the Large Medallion 3D Diecut. But before running them through the Diecut Machine I applied Adhesive Sheets to the Chipboard  before laying the floral cardstock on top of the chipboard.


I adhered each section to the end of each medallion "panel".


Then I glued the ends together to create a circle.


Then the worse thing happened when I pushed it down to create the medallion the paper ripped and no it wasn't a small rip it was big. 😞 I tried to fix it with a hot glue gun and it wouldn't hold so I used my trusty bottle of Zip Dry Adhesive and it held the center together. I was very determined to make this project work no matter what. A side note the next one I make I will add two more panels for a total of eight instead of six.


I decided to add two big banners to cover the rip of the medallion. I picked the cardstock for the banners from the Metallic Ink Paper Pad. I cut a "v" in the end of both banners before adhering on top of the medallion.


From my own personal doily stash I adhered a 5 1/2" mint green doily on top of the banners. The second doily is from the 4" Watercolor Doily which I glued off center of the other the larger doily.


I picked a floral cardstock from the Peony Paper Pad and fussy cut several of the flowers and leaves out and then adhered to the doilies. I also added a cording bow under the lower collection of flowers on the medallion.


Now it is ready for the mantel along with all my other spring decorations.  Need more inspiration? You can find Momenta's blog HERE. As always if you have any questions about this project please let me know.


SUPPLIES USED:
Momenta: Peony Paper Pad
6" Mint Green Doily
Beacon Adhesive: Zip Dry Adhesive
SIzzix/Brenda Walton: Large Medallion 3D Diecut
Cording

(Products listed above are Affiliated Links for your convenience)


 Thanks for stopping by, hope your Thursday is wonderful and enjoy creating!


Tuesday, April 9, 2019

How to Turn a Cottage Cheese Container into a Mini Easter Basket

Hi everyone! I want to share a mini Easter basket I created using an empty cottage cheese container.


I started with an empty container of cottage cheese...if you aren't fond of eating cottage cheese a yogurt container will work too and if you don't like yogurt maybe you can find someone to eat it for you. 😁 I cleaned it inside and out and let dry.


The cottage cheese container I used I peeled the label off. So I traced with a pencil the outside of the label onto a piece of Watercolor Paper and cut out with scissors. 


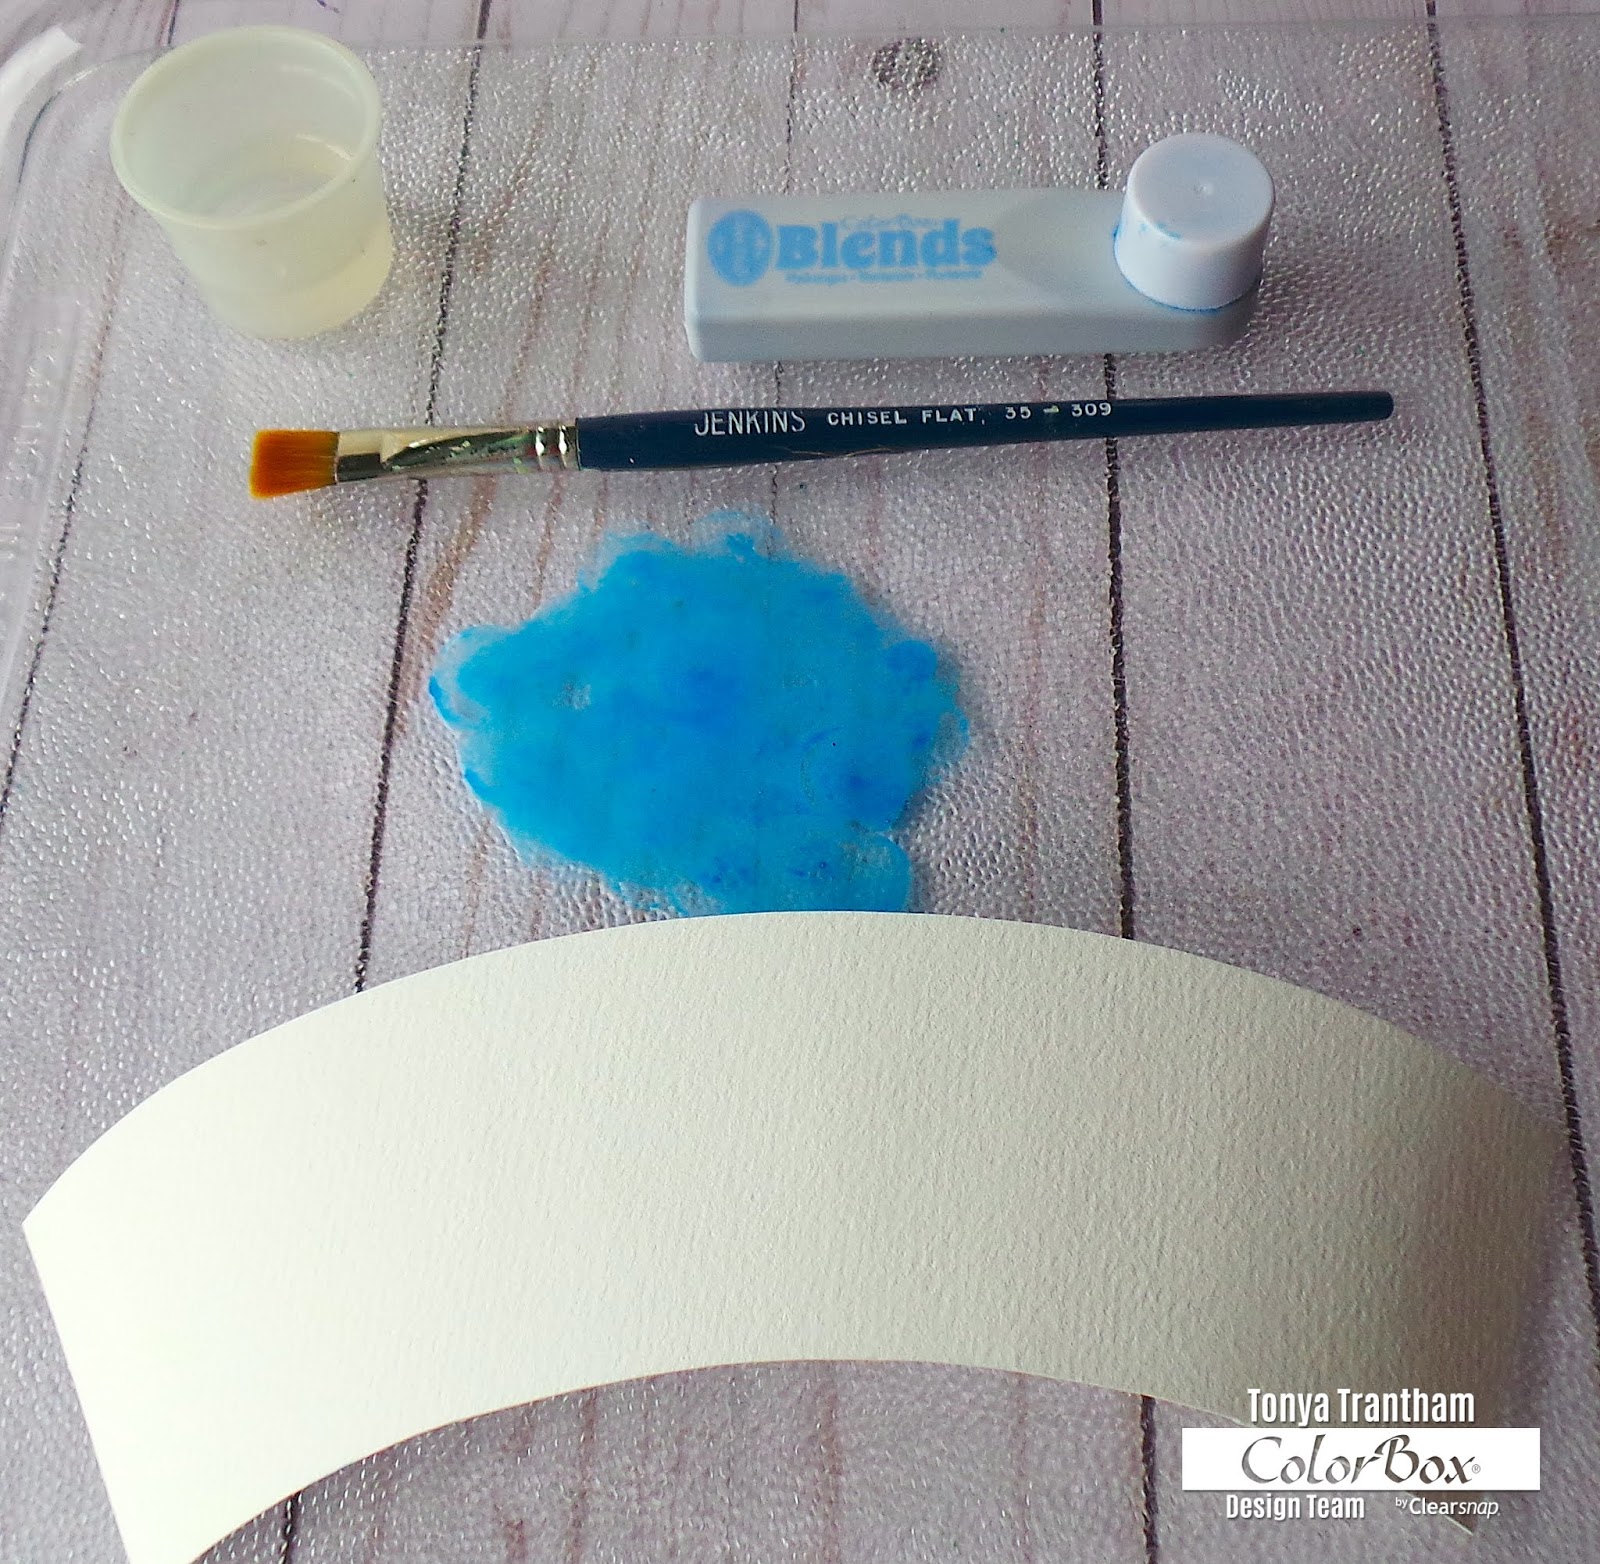
I inked the glass tray with Hydrangea Blends Ink. I added water, painted the watercolor paper and let dry.


I inked the Simple Dots Rollagraph with Glacier Lake Archival Dye Ink and roll onto the piece of watercolor paper. 


Once the watercolor paper is dry I adhered watercolor paper to container.


I punched holes on either side of the container with a hole punch and ran a pipe cleaner through each hole and twist to secure to the container.


I placed a piece of textured white cardstock on top of the Brenda Walton: Medallion Diecut (retired) and place between two cutting plates and run through the Diecut Machine. I put the medallion together according to directions on packaging. I inked an Art Dauber with Old Rose Ink from the Sunset Petal Point Ink Pad and ink edges of the medallion diecut and adhered to container. I also adhered trim to the top and bottom of container.


I placed the flowers and leaf sprigs stamps from the Thankful Clear Stamp Set onto MISTI Stamping Tool. I inked the flowers with Pink and Peony Inks from the Enchantment Petal Point Inks and the leaf sprigs with Olive Ink from the Sunset Petal Points Inks. I stamped all onto a piece of Textured White Cardstock. I fussy cut the stamped flowers and leaf sprigs out and looped thread several times and made a mess bow. I adhered flowers, leaf sprigs and bow onto the medallion. The finishing touches I added gems, flatback pearl and sequin to the center of each flower.  


I added Easter grass and decorative eggs to this little Easter basket but it would be perfect for candy, stickers and tiny little goodies. As always if you have any questions please let me know.


SUPPLIES USED:

ColorBox: Glacier Lake Archival Dye Ink
ColorBox/Eileen Hull:Hydrangea Blends Ink
ColorBox: Simple Dots Rollagraph
ColorBox: Jumbo Handle Self Inking (No Cartridge Used)
ColorBox: Enchantment Petal Point Inks
ColorBox: Art Dauber
ColorBox: Thankful Clear Stamp Set
ColorBox: Sunset Petal Point Ink Pad
Gems and Flatback Pearl
Sequin
Textured White Cardstock
Watercolor Paper 
Beacon Adhesive: Fabri-Fix Permanent Adhesive
Paper Cutter
Pencil
Empty Cottage Cheese Container
Hole Punch
Trim and Thread
Pipe Cleaner
Glass Tray
Paint Brush
Scissors   
Sizzix/Brenda Walton: Medallions Diecut
MISTI Stamping Tool


Thanks for stopping by, hope your Tuesday is wonderful and enjoy creating!


Tuesday, March 19, 2019

Botanical Wreath Tag

Hi everyone! I am back with another tag I created. I had actually created this tag for ColorBox for use in an advertisement in Creative Scrapbooker Magazine last year. I kinda let this post sit in the draft folder of my blog and never got around to posting the directions on how I made this...so here it is! 😁


I started by applying Dandelion Premium Ink to a glass tray, adding water and placing the tag into the watered down ink and removed. I cleaned off the tray and applied the following inks: Rose, Jade and Spring Premium Dye Inks to the glass tray and added water. I randomly place the Tag in the different colors of ink until desired effect was achieved. 


Once the tag dried I embossed with the English Botanical Embossing Folder.


I cut from a brown/wood looking cardstock a Wreath Diecut and inked the leaves with Ice Jade Chalk Ink. The wreath was bigger than the tag so I adhered to the front and wrap and glue the rest to the back of the tag.


Before glueing the rest of the wreath to the backside I measured and cut a piece of Yellow and Ivory Mini Dot Reverse Cardstock the size of tag and adhere to the back of the tag. 


I cut from White Cardstock flowers and leaves from the Stitchy Flowers and Leaf Diecuts and from the Flower and Leaf Stitchlits Diecuts (retired). I added Rose Premium Dye Ink to glass tray, water and painted two larger flowers and once dry shaped with a Stylus and add two sequins and a flat back pearl to the center of each flower. I inked leaves completely with Ice Jade Chalk Ink, shaped with a stylus and adhered to the backs of each flower. I shaped with a stylus three of the mini white cardstock flowers and add a gem to each center.


I tied two bows with cording and adhere to the back side of the large flowers before gluing to the tag. I finished off by adding sequins randomly to the front of the tag and cutting 8 inch piece of lace and tie to the top. As always if you have any questions about this project please let me know.


SUPPLIES USED:

ColorBox: Spring Premium Dye Inks
ColorBox: Ice Jade Chalk Ink
Canvas Corp: Tag
Canvas Corp: Yellow and Ivory Mini Dot Reverse Cardstock 
Sizzix/Brenda Walton: English Botanical Embossing Folder 
Sizzix/Eileen Hull: Flower and Leaf Stitchlits Diecuts (retired)
Spellbinders: Wreath Diecut
Glass Tray
Beacon Adhesive: Zip Dry Adhesive
Gems
Cording
Sequins
Lace
Flatback Pearls


Thanks for stopping by, hope your Tuesday is awesome and enjoy creating!