Sunday, June 29, 2014

Artsy Stuff Folio~Part 2

Hi everyone! I'm here to share the inside of my finished folio with you. If you didn't see last Sunday's post of how I I created this folio you can find it here. I created it using the Paris Collection by the Robin's Nest which is 20% off this month. It is simply a gorgeous paper collection and I had some much fun creating this folio with it.


Since I have tons of scraps of paper, embellishments, print-outs, stamped images and stickers I decided I really needed to use up some of my stash thus the name, artsy stuff folio. :-) You can check out the rest of my post over at the Chattering Robin's blog to see how it came out.


Thanks for stopping by, hope your Sunday is awesome and enjoy creating!!!


Saturday, June 28, 2014

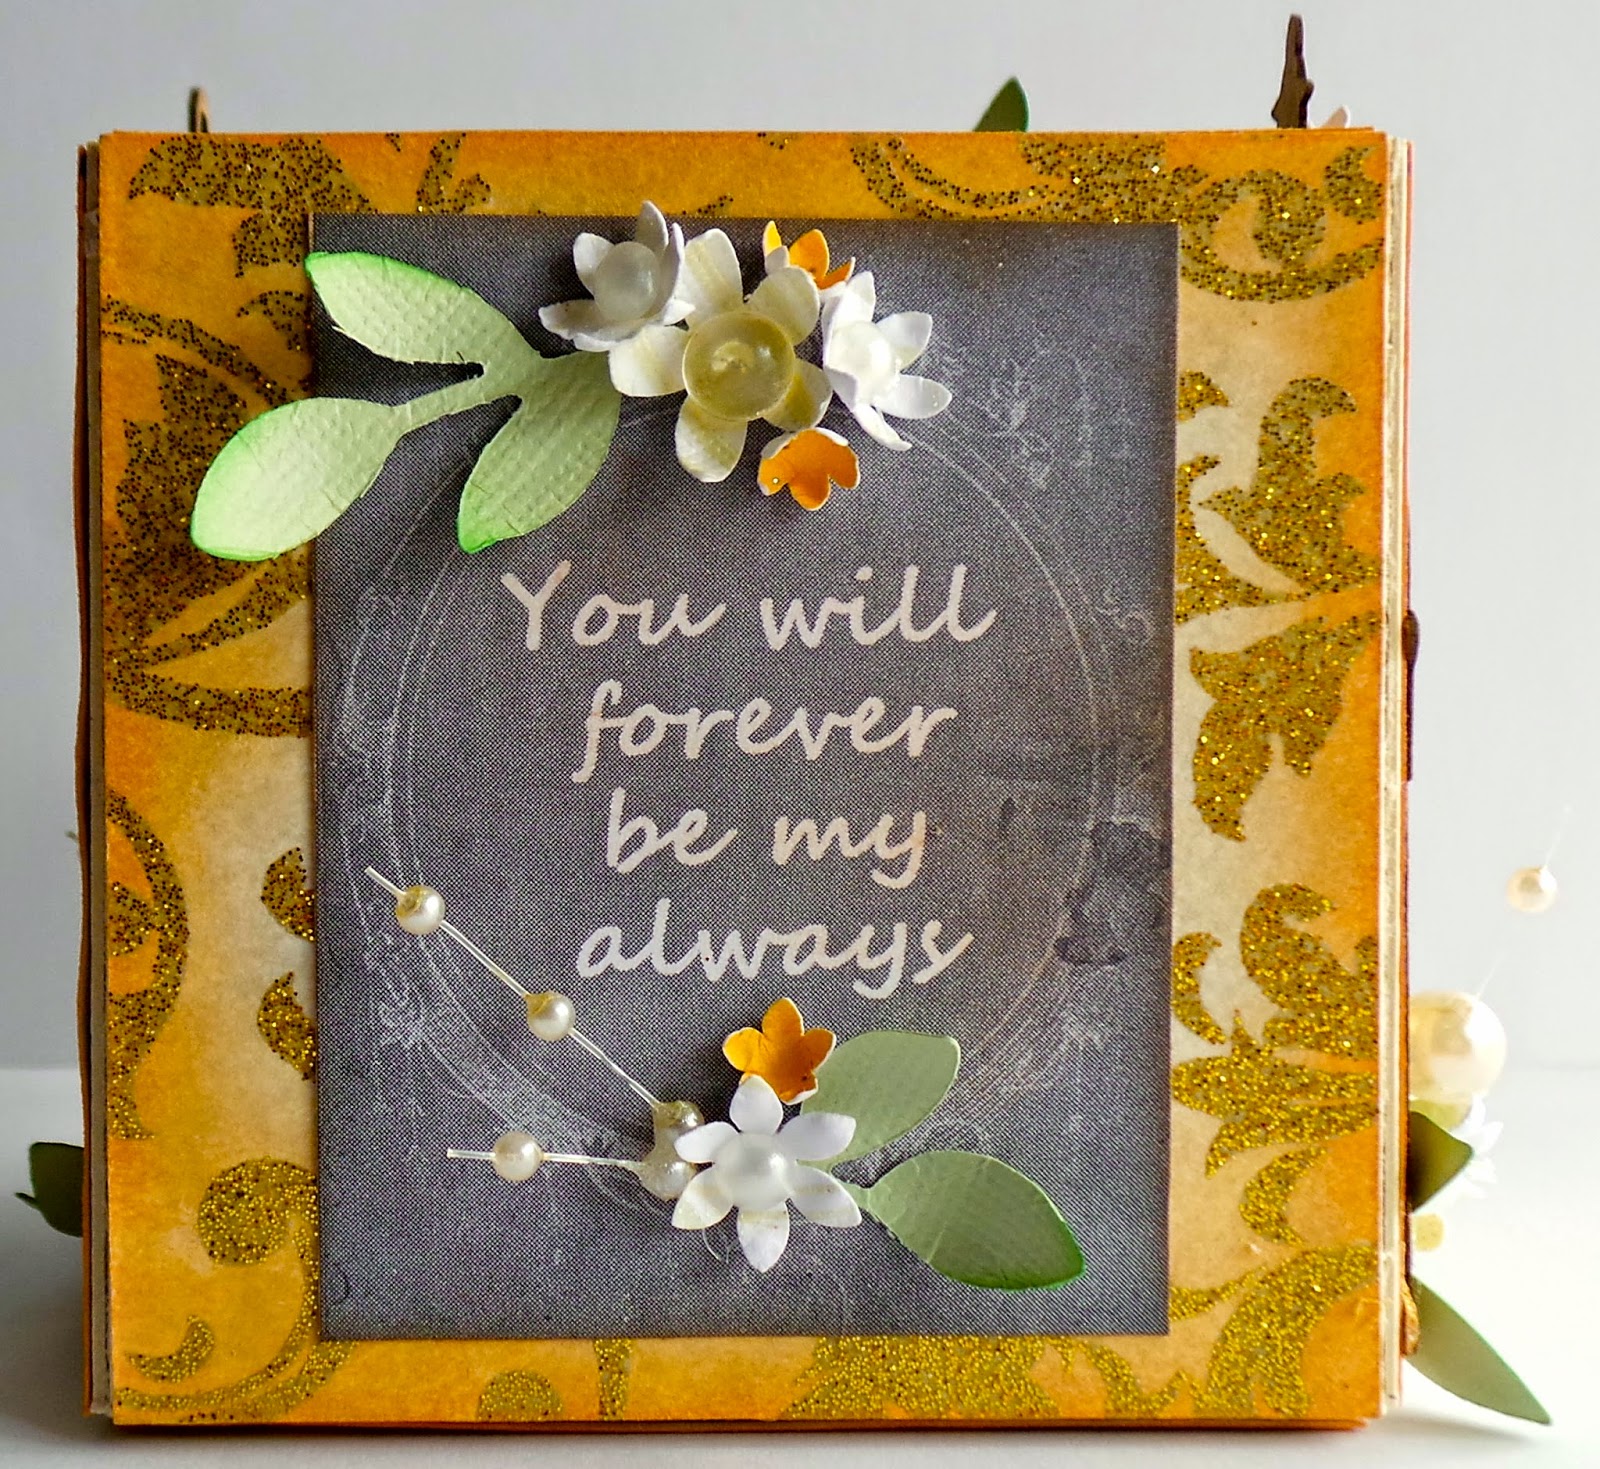
You Will Forever be My Always ATB

Hi everyone! Can you believe this month is almost over and July is just around the corner??? I keep asking myself where did June go??? I have had a crazy June to say the least, emergency room, a hospital stay and now a rash that my husband says is shingles…I say no way cause I don't hurt just itch. I have felt like I just don't have enough hours in the day to get everything accomplished that is on my to do list. Maybe July will be good to me…fingers crossed. :-)
 I'm here to share a ATB I created using Eileen Hull's Scoreboards XL Die Box Square. I used from the Robin's Nest Wedding {in love} CollectionLight Ale Dew DropsPearl Dew Drops and Peach Glitter Cardstock to make an adorable block that could be used as a table decoration at a wedding.


I love the cut a parts that the Robin's Nest now has in the Wedding {in love} Collection. All I had to do was cut out one of the sayings and add leaves, flowers, that I shaped and dew drops.


I used a Copper Shimmer Mist to add color to both bird cages that are on the ATB.


This sentiment I especially love! I can honestly say this is truly how I feel about my husband.


The top view I decorated with diecuts, buttons, dew drops, pearl spray and flower.


In all this was a quick ATB to put together other than shaping flowers and leaves. :-)


Also I'm playing along with Eileen Hull's The Art with Heart June Challenge that is still going on for only two more days. So please be sure to stop by and check out what everyone else has created.


Supplies Used:

Sizzix: Eileen Hull-Scoreboards XL Die Box Square, Sizzlets-Little Leave 
Robin's Nest: Wedding {in love} Collection, Light Ale Dew Drops, Pearl Dew Drops, Peach Glitter Cardstock
Flower Punches
Gina's Design: Bird Cages
Pearl Sprays
Mint green Cardstock
Melon Chalk Ink
Copper Shimmer
Spellbinders Nestabilities: Splendid Circles

If you have any questions please let me know. Thanks for stopping by, hope your Saturday is wonderful and enjoy creating!!!


Monday, June 23, 2014

Yankee Doodle Annie

Hi everyone! I'm here to share my project for Eileen Hull's Art with Heart Challenge which this month's theme is Summer Celebrations. Since the 4th of July is just around the corner this is what I came up with.
I had started with the Scoreboards Diecut 3D Food Jar with Spoon. I turned it upside down and tada it looked like a doll head to me. I cut the base out in mattboard and then covered with flesh colored felt. I cut a nose from pink cardstock, added white sequins, two black dew drops and I painted a white dot on each dew drop for the eyes and adhered to the face. I also added a tiny enamel heart, that I colored with a pink sharpie to make it darker, for the mouth. To finish off her face I gave her rosy cheeks using my chalk pastels.


I also used the Sizzix die Flowers, Daisies #2 to create the hair with. I used three of those 8"x10" sheets of orange felt to do her hair…that was the most time consuming part of her. Since there is a small hole in the center of the flower I cut open the flower and adhered it around her head.


I cut out Annie's body from mattboard with the Sizzix Scoreboards XL Die Vase 3D and covered with a dark blue scrapbook paper. I adhered the head to the body and let dry.


I cut from red scrapbook paper Annie's sleeves. I rolled up, glued one end and left the other open. I cut two small flesh colored circles for hands and adhered in the opening of the sleeve. Next I added lace, sequins, dew drops, button and baker's twine to finish her off.


I plan on giving this little Annie to my mom since she has a collection of Raggedy Ann and Andy…she  still has my Andy and my sister's Anne from when we were little. :-)


Other Sizzix Die: Flowers, Daisies #2
Flesh and Orange Colored Felt
Sequins
Red and Blue Scrapbook Paper
Baker's Twine
Lace
Button
Mattboard

Be sure to hop on over to Eileen Hull's Art with Heart Challenge and see what everyone else has created and there is still time to join in on the challenge too.
 I hope you have enjoyed my little Annie and if you have any questions please let me know.
Thanks for stopping by, hope your Monday is awesome and enjoy creating!!!


Sunday, June 22, 2014

Artsy Stuff Folio ~ Part 1

Hi everyone! I'm here to share this month's project for the Robin's Nest using the Paris Collection which is 20% off this month.
I had seen a video of the Tim Holtz folio a few weeks ago and thought, "Hey! I can create my own!" So this is what I came up with.


To see the rest of my project I created please stop by the Chattering Robin's blog.
 Also please be sure to mark your calendars and come back to the Chattering Robin's blog next Sunday, June the 29th to see how I finish up the inside of this adorable folio. :-)
Thanks for stopping by, hope your Sunday is wonderful and enjoy creating!!!


Saturday, June 21, 2014

Dragonfly Dreams

Hi everyone! First off let me tell you I'm super excited to be a part of Altered Pages/Mailbox Muse design team. The thought of having hundreds of vintage images to create with simply makes me giddy. :-)
I want to share my first project I created using inks and markers from this month's partner, IMAGE Crafts and product from Altered Pages. 
For more information on these journal page and how I created please hop on over to the Altered Page blog for complete details. :-)


Thanks for stopping by, hope your Saturday is awesome and enjoy creating!!!


Friday, June 20, 2014

Wedding Tea Cup and Robin's Nest Design Team News

Hi everyone! I'm here to share some exciting new!!! I get to still be a part of the Robin's Nest Design Team!!! YEAH!!! I am also excited there are some familiar faces coming back  and new ladies that will be sharing their creativeness with everyone. 
Also I would like to share a quick project I created using Robin's Nest products and the tea cup template from the Layers of Color blog. I sized the tea cup and saucer down 65% and printed it on the backside of the Wedding Swirl Glitter Cardstock. Then I cut it out and adhered it together. I glued a Gina's Designs Cardstock Doily on top of the saucer before I glued the tea cup on top of it. I printed a vintage wedding couple from Graphic Fairy and fussy cut it out. I added a little tissue inside the tea cup and adhered the wedding couple to it. Next I cut out a saying from the Wedding Cut-Outs Cardstock and inked the edges, cut out a rosette from the White on White Classic Glitter Swirl Cardstock and then adhered to backside of the couple. Then I finished it off with Dew Drops, lace and paper flowers and flowers punched from Peach Glitter Cardstock.


This would make fun table arrangements for a wedding.


Supplies Used:

Robin's Nest: Wedding Cut-Outs CardstockWedding Swirl Glitter CardstockDew DropsPeach Glitter Cardstock, White on White Classic Glitter Swirl Cardstock
Gina's Designs Cardstock Doily
tea cup template
Lace
Sizzix: Brenda Walton's Rosette Die
Flowers Punches

Thanks for stopping by, hope your Friday is wonderful and enjoy creating!!!


Wednesday, June 18, 2014

When Your Giddy Up has Got Up and Left

Hi everyone! I'm here to share a card I created for the Crafty Card Gallery blog. This months theme is animals and this is what I came up with.
I used a pre-cut card base from K & Company's Julianne collection. I love the fact its cut to size and all you have to do fold. I stamped the Da Vinci Horse from Stampendous! onto a piece of Vanilla Fleur Glitter Cardstock  and adhered to the top of the card base  Next I cut out the "Old Dan" horse which is a free printable from Eclectic Anthology. I roughed up the edges of the printable, added part of an old zipper along the bottom of the printable and glued to the base. I printed the sentiments from the computer, cut out my own banner, used an oval distressed metal pick to adhere both sentiments to the card. I used Dew Drops to finish up my card.


I think this is a fairly easy card to do if I do say so myself. :-)


Thanks for stopping by, hope your Wednesday is awesome and enjoy creating!!!