Showing posts with label Gina's Designs. Show all posts

Saturday, June 28, 2014

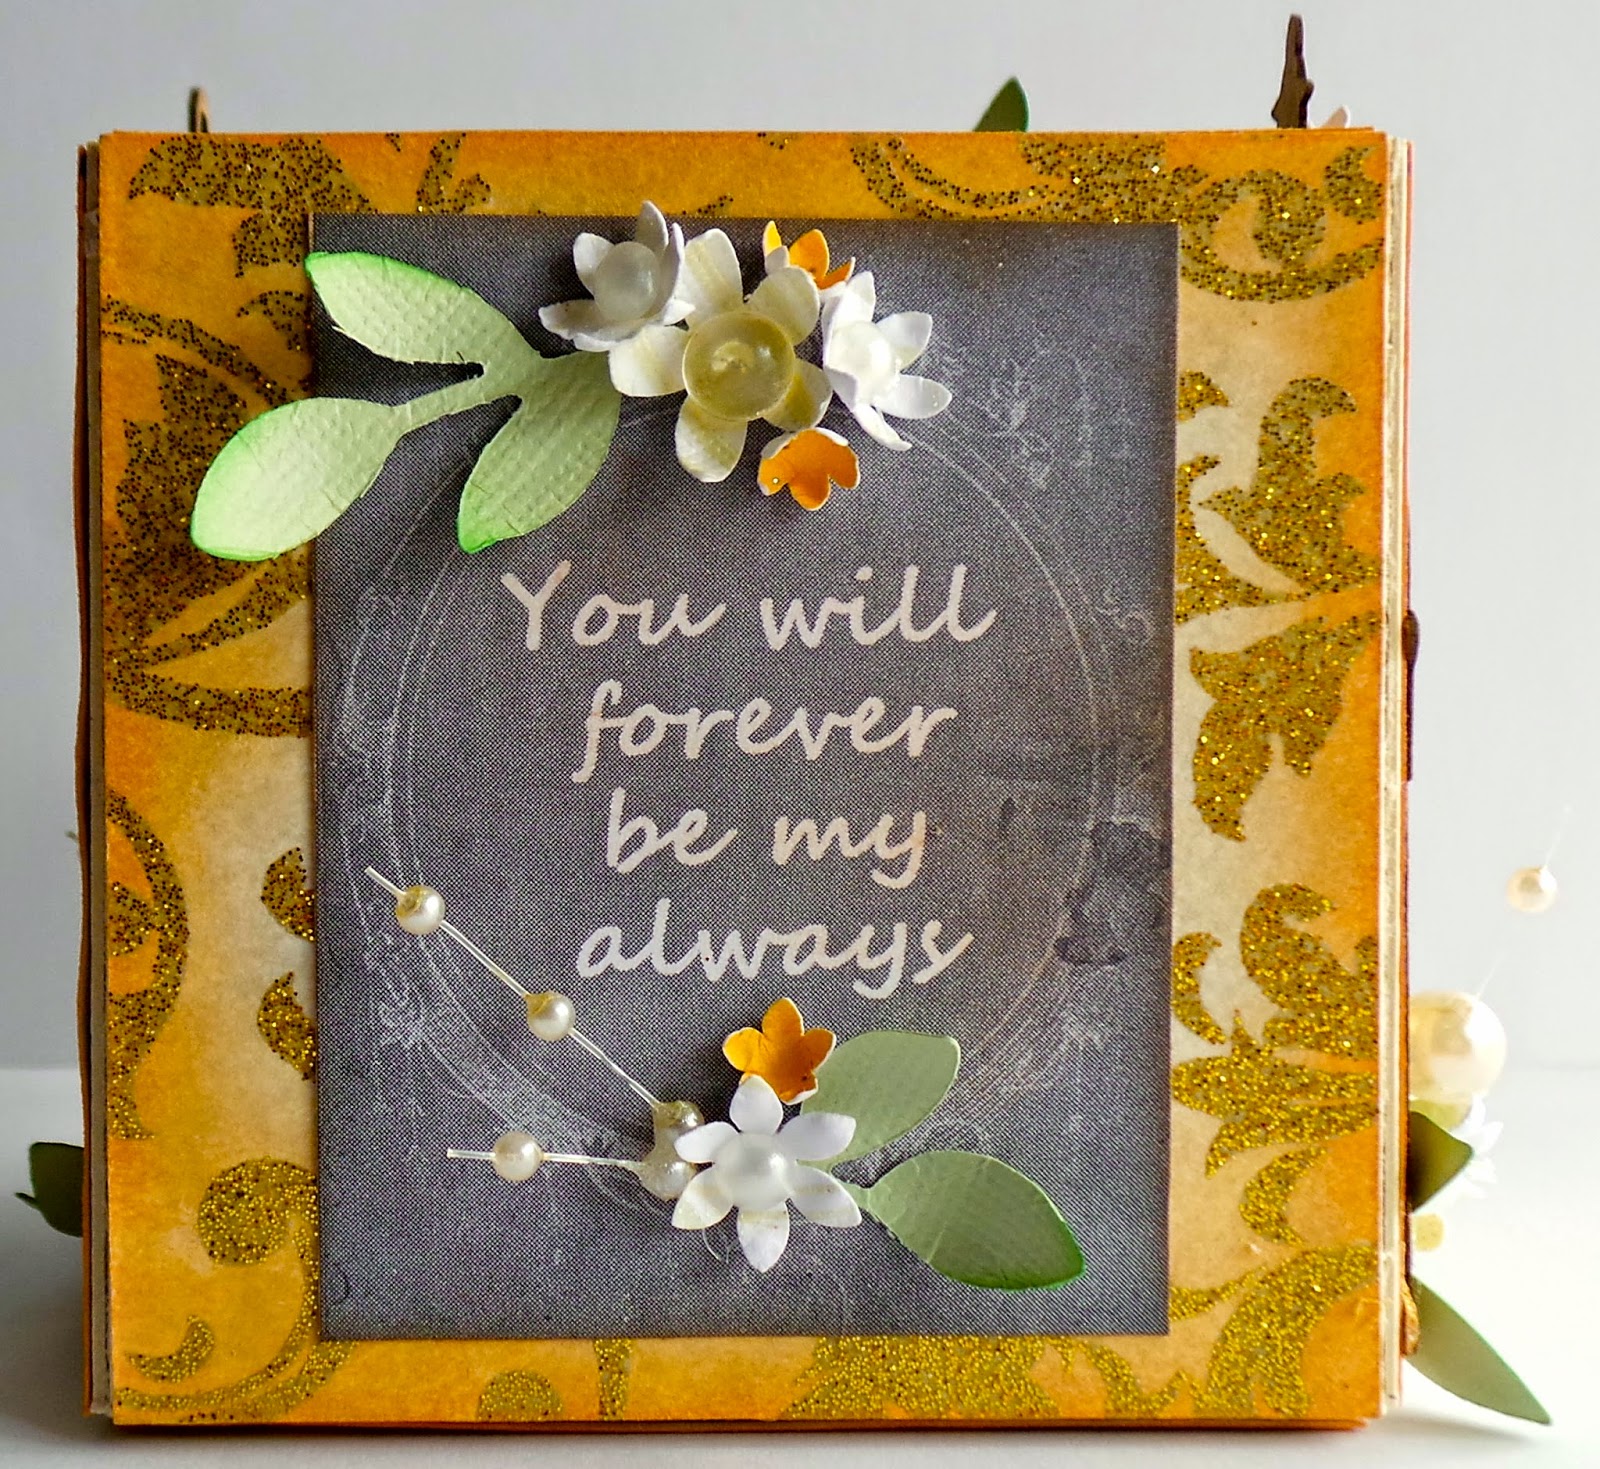
You Will Forever be My Always ATB

Hi everyone! Can you believe this month is almost over and July is just around the corner??? I keep asking myself where did June go??? I have had a crazy June to say the least, emergency room, a hospital stay and now a rash that my husband says is shingles…I say no way cause I don't hurt just itch. I have felt like I just don't have enough hours in the day to get everything accomplished that is on my to do list. Maybe July will be good to me…fingers crossed. :-)
 I'm here to share a ATB I created using Eileen Hull's Scoreboards XL Die Box Square. I used from the Robin's Nest Wedding {in love} CollectionLight Ale Dew DropsPearl Dew Drops and Peach Glitter Cardstock to make an adorable block that could be used as a table decoration at a wedding.


I love the cut a parts that the Robin's Nest now has in the Wedding {in love} Collection. All I had to do was cut out one of the sayings and add leaves, flowers, that I shaped and dew drops.

I used a Copper Shimmer Mist to add color to both bird cages that are on the ATB.


This sentiment I especially love! I can honestly say this is truly how I feel about my husband.


The top view I decorated with diecuts, buttons, dew drops, pearl spray and flower.


In all this was a quick ATB to put together other than shaping flowers and leaves. :-)


Also I'm playing along with Eileen Hull's The Art with Heart June Challenge that is still going on for only two more days. So please be sure to stop by and check out what everyone else has created.


Supplies Used:

Sizzix: Eileen Hull-Scoreboards XL Die Box Square, Sizzlets-Little Leave 
Robin's Nest: Wedding {in love} Collection, Light Ale Dew Drops, Pearl Dew Drops, Peach Glitter Cardstock
Flower Punches
Gina's Design: Bird Cages
Pearl Sprays
Mint green Cardstock
Melon Chalk Ink
Copper Shimmer
Spellbinders Nestabilities: Splendid Circles

If you have any questions please let me know. Thanks for stopping by, hope your Saturday is wonderful and enjoy creating!!!


Sunday, June 22, 2014

Artsy Stuff Folio ~ Part 1

Hi everyone! I'm here to share this month's project for the Robin's Nest using the Paris Collection which is 20% off this month.
I had seen a video of the Tim Holtz folio a few weeks ago and thought, "Hey! I can create my own!" So this is what I came up with.


To see the rest of my project I created please stop by the Chattering Robin's blog.
 Also please be sure to mark your calendars and come back to the Chattering Robin's blog next Sunday, June the 29th to see how I finish up the inside of this adorable folio. :-)
Thanks for stopping by, hope your Sunday is wonderful and enjoy creating!!!


Friday, June 20, 2014

Wedding Tea Cup and Robin's Nest Design Team News

Hi everyone! I'm here to share some exciting new!!! I get to still be a part of the Robin's Nest Design Team!!! YEAH!!! I am also excited there are some familiar faces coming back  and new ladies that will be sharing their creativeness with everyone. 
Also I would like to share a quick project I created using Robin's Nest products and the tea cup template from the Layers of Color blog. I sized the tea cup and saucer down 65% and printed it on the backside of the Wedding Swirl Glitter Cardstock. Then I cut it out and adhered it together. I glued a Gina's Designs Cardstock Doily on top of the saucer before I glued the tea cup on top of it. I printed a vintage wedding couple from Graphic Fairy and fussy cut it out. I added a little tissue inside the tea cup and adhered the wedding couple to it. Next I cut out a saying from the Wedding Cut-Outs Cardstock and inked the edges, cut out a rosette from the White on White Classic Glitter Swirl Cardstock and then adhered to backside of the couple. Then I finished it off with Dew Drops, lace and paper flowers and flowers punched from Peach Glitter Cardstock.


This would make fun table arrangements for a wedding.


Supplies Used:

Robin's Nest: Wedding Cut-Outs CardstockWedding Swirl Glitter CardstockDew DropsPeach Glitter Cardstock, White on White Classic Glitter Swirl Cardstock
Gina's Designs Cardstock Doily
tea cup template
Lace
Sizzix: Brenda Walton's Rosette Die
Flowers Punches

Thanks for stopping by, hope your Friday is wonderful and enjoy creating!!!


Sunday, April 27, 2014

"Cat-titude"

Hi everyone! I'm here to share a mini album I created out of coffee filters using the Special Delivery Collection from the Robin's Nest which is 20% off this month and we are cross promoting with EC crafts


The mini I created isn't the typical baby mini album. I made this with my cat, Omega in mind…thus, the title "Cat-titude" meaning cat with attitude. :-)
I started with four coffee filters as the base for my mini album.


I traced the filters onto the Special Delivery Cardstock and the Pink Rose on Green Cardstock and then cut out and inked the edges. Here is a tip…line up your words and stripes before you trace and cut out or you might have your words upside down or your stripes going in a weird way. :-)


Next I used my Bind it All to punch holes in the pages and then cinch the 3/4" O-wire.


This is what the mini will look like once the O-wires are added.


Next I "speckled" the cover and pages with a marker spritzer (I got this several years ago from Stampin Up) and Frayed Burlap Distress Marker to give the pages a bit of "well loved" look.


These two pages I kept pretty simple. I used a chipboard baby bottle from Gina's Design which I painted. The other page I used the backside of the Forest Trees Specialty Paper to matt the photo of Momma cat and kittens.
I actually got to see these kittens be born. I really wished I had taken photos when this happened but at the time I had not planned on keeping any of them. The momma cat, Miss Bonkers had followed me  around all day and wouldn't let me out of her sight. Well,when she finally went into labor and had all of them it was 2:00 in the morning. Omega was the last kitten to be born and was half of the size of the other three kittens. Omega meaning last is how she got her name since she was the last to be born. :-)


I used from the new Lodge Collection the Birch Tree Paper Straws which I inked with and brown chalk ink and then I punched leaves from Wrap Glitter Cardstock, shaped and adhered to the side of the paper straw. I topped it off with a button and dew drop.
The other page I cut from the Lodge Cut Outs Cardstock the trees and inked the edges and adhered to the page…letting some of it hang off the side of the page. I added to the top of the photo The View sticker which is from the Outdoors Stickers set. I punched two leaves and shaped and topped off with a button, sequin and dew drop.


This is one of my favorite photos of Omega way up in a tree just laying there. She always got chased up a tree by my other cat, Cotton.


I cut from the Pink Glitter Cardstock four scalloped ovals from the Spellbinders Grand Scalloped Ovals diecuts and embossed all with the Flowers and Leaves embossing folder from EC crafts. I plan on adding more photos and finishing my journaling to these pullouts later on.


 I cut a matt from the Forest Trees Specialty Paper and adhered a photo of my husband and Omega to it. My hubby was already asleep when Omega got in his lap and went to sleep never waking my hubby. :-) Next I printed and cut out from the Collage and Charm Words Mix Media Altered Art digital sheet "sweet dream" and adhered above. 
The "loved" photo is one from my Instagram account. I used a wooden photo frame that I had received in a swap and added three pearl dew drops from Crimson Mini Dew Drops to top it off. I had a leftover Valentine Hearts cardstock that I cut a scallop diecut from and a scrap leftover from a heart cutout that I adhered to the page.


The back cover of the mini along with ribbon, fiber and charms that I added to the O-wire.


The front was major fun to do. Since I had scraps from past DT projects I used those and a script cutout from the Lodge Cut Outs Cardstock, Forest Trees Specialty Paper, dew drops, bling, decorative frame and doily from Gina's Designs and a sticker of a vintage cat  that I had bought years ago that I thought would look perfect on the front.


Supplies Used:

4 Coffee Filters
Bind it All, 3/4" O-wire
Ribbon
Buttons
Sequin
Punches: Leaf and Small Flower
Sizzix: Scalloped Circle, Little Leaves
Spellbinders: Grand Scalloped Oval Diecuts
Charms
Chocolate Chalk Ink
Robin's Nest: Special Delivery Cardstock, Pink Rose on Green CardstockForest Trees Specialty PaperBirch Tree Paper Straws, Wrap Glitter Cardstock
Lodge Cut Outs CardstockOutdoors StickersCrimson Mini Dew DropsValentine Hearts cardstock, Crimson Mini Dew Drops, Dew DropsPink Glitter Cardstock 
EC Crafts: Flowers and Leaves embossing folder
Gina's Designs: Doily, Baby Bottle, Decorative Frame (front of mini)
Cassi's Creations:  Collage and Charm Words Mix Media Altered Art digital sheet

Well, I hope you enjoyed the mini I shared with you today. Please remember to stop by the Robin's Nest and check out the Special Delivery Collection that is 20% off this month and while you are at it but sure to look at the new Lodge Collection too…super fun collection that you can do a lot of crafty things with. :-) Also be sure to stop by EC crafts and check out the embossing folders, stickers and other fun crafty stuff they have.

Thanks for stopping by, hope your Sunday is wonderful and enjoy creating!!!


Saturday, March 29, 2014

Easter Bluebird Cup

Hi everyone! I'm here to share a super fun project I created for the Robin's Nest using the Spring Collection which is 20% off this month and we are also cross promoting with Altered Pages too.


I love creating these little tea cups and saucers. They are quick to create and makes a fun gift to give to someone that collects tea sets or it could make the perfect place setting at a party.  All you will need to do is print off the Paper Tea Cup and Saucer onto Spring Flower Glitter Cardstock and then cut out and ink the edges of the saucer before adhere together.I spritzed a doily from Gina's Designs with Tattered Angels Lemon Zest Glimmer Mist once dry I glued it to the saucer and then adhered the cup on top of the that.


I next fussy cut from the Sweet Easter Cards printout the little bluebird. In the bottom of the cup I wadded up a piece of tissue paper and glued inside. Next I adhered the bluebird to the tissue paper.


Next I added Easter grass around the bird to cover the tissue paper.


Now all you have to do is add paper flowers, mini eggs, lace, ric rac and anything else that is Easter related. See super easy and cute to boot!!! :-)


Robin's Nest: Spring Flower Glitter Cardstock, Dew Drops and Purple Flower Glitter Cardstock
Paper Tea Cup and Saucer
Altered Pages: Sweet Easter Cards
Gina's Designs: Cardstock Doily Set 1
Tattered Angels Lemon Zest Glimmer Mist
Sizzix: Rosette Diecut
Brad
Buttons
Ric Rac
Paper Flowers
Flower Punch
Sequins
Lace
Easter Grass

If you have any questions please let me know and remember to stop by the Robin's Nest and check out the Spring Collection and while you are at it stop at by Altered Pages too.

Thanks for stopping by, hope your Saturday is awesome and enjoy creating!!!


P.S. Remember to check out the Robin's Nest blog hop this Monday, March 31st for awesome ideas from all of our designers and some really cool blog candy!!!  


Monday, February 10, 2014

Love Paper Sack Mini Album

Hi everyone!!! I have been sooooo busy creating cards, swaps and design team projects and I just haven't got around to blogging but I'm now back to share one of my projects I created for a swap I was in on Facebook. We had to altered a 300 count matchbox into a Valentine's Day theme and add handmade goodies inside of it. Well, I'm going to share the mini album I created using five 4"x6" paper sacks. I did cut the tops down a little so the mini would fit into the matchbox. I used Baker's twine to bind it together.


I used bits and pieces of leftover cardstock, scrapbook paper, lace, stickers and images to put this adorable mini together.


I also put together a package of die cuts, stickers, ribbon and dew drops so my swap partner, Norma, could add more to the pages if she wanted to.


Also I shared this mini and matchbox on Maya Roads Facebook page for a challenge they had going on…there is a chance to win a prize package. I have my fingers and toes crossed that I win something. :-)
Come back Tuesday (treat holder) and Wednesday (matchbox)  to see what I created.
Thanks for stopping by, hope your Monday is awesome and enjoy creating!!!


Sunday, January 26, 2014

Banner of Love

Hi everyone! It's me, Tonya and I'm here to share my project that I created for the Chattering Robin's blog using the Wild About U Collection which is 20% off this month. Also we are cross promoting wonderful laser cut chipboard pieces and die cuts with Gina's Designs. I came up with an adorable Valentine's Day banner that I created using small 4"x6" paper sacks, felt heart shape Christmas ornaments, red foil heart shape doilies and vintage children images some I found on the internet and one I got from a Crafty Secrets sheet of vintage images. 
For more on how to create this adorable Love Banner hop on over to the Chattering Robin's blog and check it out!


Thanks for stopping by, hope your Sunday is wonderful and enjoy creating!!!