Showing posts with label Planner. Show all posts

Tuesday, May 28, 2019

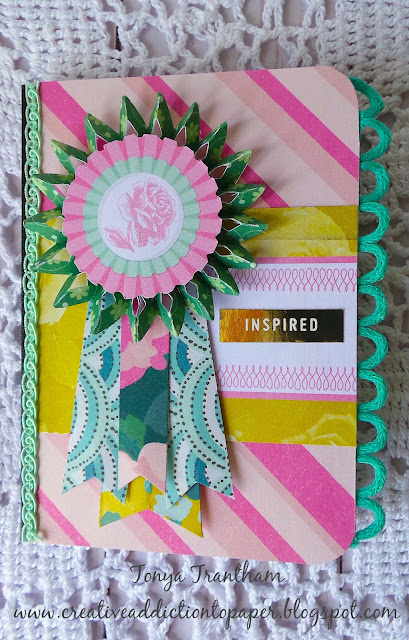
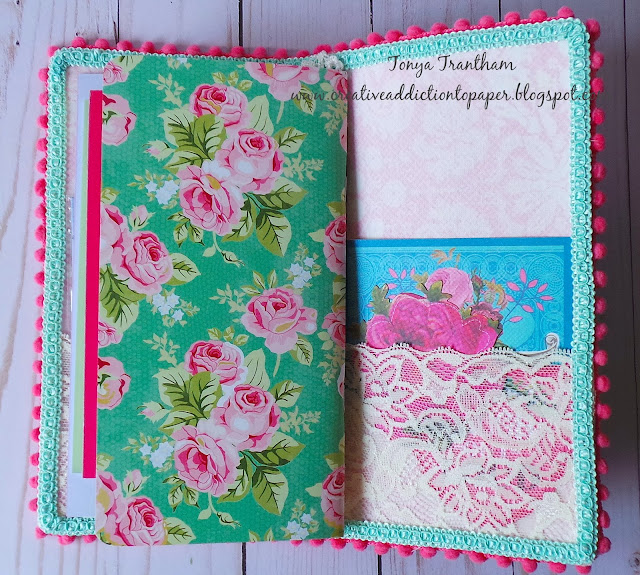
Wings and Things Notebook Planner

Hi everyone! I hope everyone had a wonderful long Memorial Day weekend! I did! I got to spend time with my son, daughter in law and grandson...I even got to watch Baby O while his mom and dad went out for the evening...that was fun. 😊 
Well, I would like to share my latest project with you all. Since I am in a swap on instagram I thought I would combined the swap with my project I created for Eileen Hull this month. 


I started by applying Eileen's newest product, Easy Cut Adhesive (Eileen's etsy shop is out at the moment but I went a head and tagged her shop which can be found HERE) to the Chipboard and then I picked cardstock for both the outside and inside covers from Crate Paper Chasing Dreams Paper Pad. I peeled the backing from the adhesive sheet and placed the cardstock on the cover. I did the same for the inside cover too. I then placed on top of the  Notebook Diecut and ran through the Diecut Machine. I cut the notebook in half at the "center fold" and then folded both of the small "flaps" down. I cut a two inch wide by five inch long piece of chipboard and then adhered the small flaps to either side of the 2"x5" of chipboard. I wanted to add more journals to the notebook and this was the perfect solution to extending the spine.


I cut and adhered a smaller piece of chipboard to fit between the flaps on the spine. 


I measured in 1/2 inch increments and marked the holes at the top and bottom of the spine.


I punched the holes in the top and bottom of the spine with a Crop-A-Dile. I cut cardstock and Easy Cut Adhesive to fit the spine. I applied the adhesive sheet to the cardstock and then placed on the spine. I punched over the holes again.


I decorated the cover with some past Crate Paper chipboard/embellishemnt pieces and fussy cut butterflies and leaves from one of the paper pads (retired).


Before adding elastic cording I added eyelets to the holes of the spine. I also added a mini envelope to the back cover. I only glued two of the sides down so notes and tags could be added behind the envelope.


I created a folder from a file folder and used an assortment of cardstock and stickers (Crate Paper) to decorate the cover.


I adhered pom pom trim to the inside edge and added sticky notes just in case my swap partner needs to jot down something.


This little notebook has blank pages in it and I thought it would be perfect to either draw or even do memory keeping in it. I decorated the cover with more cardstock and stickers.


The last two notebooks I bought in a pack of three at the Dollar Tree (you can find these notebooks in packs of two at Walmart). The size of these notebooks are 3.25"x4.5".


Like the other notebook and folder I decorated both sides with patterned cardstock, stickers, trim and chipboard/diecuts.


I slid all the notebooks and folder underneath the elastic cording.


I love how the pom pom trim looks from the side of the notebook planner! 😍 Also be sure to hop on over to Eileen Hull's blog and see what the Inspiration Team has been up to! You can find the posts for this month HERE and HERE.


As always if you have any questions about this project please let me know. 
I would also like to submit this project for the following challenge:

Word Art Wednesday: Anything Goes #388-#389


SUPPLIES:

Sizzix/Eileen Hull: Notebook Diecut
Sizzix: Diecut Machine
Hole Punch/Crop-A-Dile
Beacon Adhesive: Zip Dry Adhesive
Thread
Gems
Pom Pom Trim
Ric RacTrim

(Products listed above are Affiliated Links for your convenience)


Thanks for stopping by, hope your Tuesday is wonderful and enjoy creating!


Tuesday, October 9, 2018

ClearSnap: Woodsy Autumn Planner

Hi everyone! I'm back with another project this week that I created using the Wrapped Journal Diecut and an assortment of inks from ClearSnap.


I started by cutting one Wrapped Journal Diecut from Mat Board and emboss both flaps with Woodgrain Embossing Folder.


I inked my glass tray with Nutmeg Blends Ink ,add water and painted the outside of the journal and both inside spines with watered down ink and let dry. Next I loaded several Art Daubers with the following inks: Mercantile: Candied Yam and Red Barn, Cornucopia: Pumpkin Spice Inks and lightly rub over the outside/inside in random spots on the journal to emulate woodgrain texture on the cover. I inked the glass tray with Flagstone and Coconut Blends Inks,added water to each color and loaded a paint brush with watered down Flagstone ink and splatter on the outside cover and inside spine and let dry. I completed the same steps as with the Flagstone ink with the Coconut ink and let dry.


I cut and adhere patterned cardstock to the inside of journal and strung elastic cording to the inside of the spine and tie off.


I cut from watercolor paper a set of leaves from the Journaling Cards, Flowers and Leaves Diecuts and took one small leaf diecut and ink with Coral and Dandelion Premium Dye inks and shape. Once dry I inked with the Clear Embossing Pad and add Copper Embossing Powder to the clear embossing and set with the heat tool. I completed this step again for each of the following embossing powders:  Gold Sparkle and Opalescent


I cut three pieces of cardstock in various sizes to create a flap for the front smaller cover and adhered. I punched a small hole in the center and at the end of the flap and add decorative brad. I cut two more pieces of cardstock to cover the back of the brad on the inside cover. 


I cut out one small wreath diecut, one circle punch and one seal circle punch and adhered to the cover. I adhered a doll head to the corner of the wreath, loop hemp cording, embossed leaf and two mini flowers next to the doll head and added mini gems to the flowers.


I cut 28 inches of hemp cording and fold in half and tied securely around brad.


I wrapped cording around journal and tie a knot about an inch under the brad, add three beads and tie off. Cut off excess cording. As always I welcome comments or questions about this project.


I would also like to submit this project for the following challenges:

Mini Album Makers Challenge: October


Thanks for stopping by, hope your Tuesday is wonderful and enjoy creating! 


Monday, July 31, 2017

Micro Paisley and Pink Planner and Goodies

Hi everyone! I am back with a quick post about a micro planner I created for a swap I was in. I used Eileen Hull's Passport Diecut to create this micro planner for my swap partner Nancy. The swap was a color crush swap and we had to put together a collection of items in our swap partner's favorite colors and Nancy's favorite colors are soft pink and sage green...I had problems finding sage green items. 😞


I created the micro planner from fabric and fusible webbing. If you missed my how to post on how I made the Fabric Travel journal with the Journal Diecut you can find that post HERE.


I added pockets to the inside covers using lace and I added two micro notebooks, a micro scrapbook that I created from 4"x6" journaling cards and a place to hold sticky notes. This gave Nancy plenty of goodies to have a hand when she is on the go. 😀


I found this fun pen and butterfly charm on clearance at Hobby Lobby. It sure added the right touches to finish off the micro planner.


I also put together an assortment of goodies to use with the planner or use in other craft projects.


I had a few canvas make up bags that I bought from Target with the intent of decorating and giving as gifts at Christmas time...which didn't happen. So I decorated one of those to give Nancy more storage for her craft supplies.


I cut fabric flowers from the Stitchy Flowers & Leaf Dieuts, frayed the edges of the flowers and added a button along with cording and lace and adhered to the corner of the bag. 


Here are some of the goodies I included inside of the bag. If you have any questions about this project please let me know.


I would also like to submit this project for the following challenge:
Word Art Wednesday: Challenge #292-#293


Thanks for stopping by, hope your Monday is awesome and enjoy creating!


Friday, July 21, 2017

Shabby Chic Planner and Beach Floral Giveaway Winner Announcement

Hi everyone! I am back to share another journal I created with Eileen Hull's Journal Diecut. This journal I actually created before my travel journal but with this one I made mistakes (which I won't point out 😉)and I didn't take how to photos as I was working on it. 😕 So if you missed the how to of my travel journal you can find the post HERE.


This journal is basically the same other than I used Pom Pom trim, a different type of lace and ribbon was used on the spine.


The inside I used a combination of traveler's notebooks from Michael's, Target and Webster's Pages.


I added lace pockets on the inside covers to diecuts and journaling cards.


And there you have it! If you have any questions about this journal please let me know. Also if you want to see the what the Inspiration Team has been up to hop on over to Eileen's BLOG.


Linda Israel is the winner of this little matchbox with goodies! Also I decided to giveaway a second small grab bag of goodies and the winner of that is Beth Byrd! Congratulations ladies and please contact me with your mailing info. 😊


Thanks for stopping by, hope your Friday is wonderful and enjoy creating!


Tuesday, July 18, 2017

Blah Blah Journal

Hi everyone! I am here with my Inspiration Team project for Eileen Hull using the new Journal Diecut. I am in LOVE with this diecut! So many ways to use it! Planner, scrapbook and of course journal.


I have a set of file folders with funny/snarky sayings on them and I thought this file folder with "Blah Blah" would be perfect to make a journal out of it. I had to carefully line up the wording and then I taped it down to the diecut before cutting out. Since both sides of the file folder has a design on it and it is made of a sturdy cardstock I just put together according to the directions.  I added colorful patterned cardstock to the corner of the cover and an image that I printed and fussy cut from Tsunami Rose Designs


I adhered lace and sewed a button to the spine.


The inside I added pockets and more fussy cut images from Tsunami Rose Designs. I attached the latch with adhesive and a decorative brad which I covered the prongs with a little washi tape.


I used as my closure a tassel with an attached cord and added elastic cording to the spine so I can add my own handmade journals.


I had a leftover piece of file folder which I turned into a book mark. I started by cutting two of the butterflies from the Birds and Butterflies Diecuts from felt. I added bits of lace, thread and cording to the butterfly before adhering to the top of the book mark. I added pearlized pins for antennas and a button and gem to the body. This is a great way to keep your spot in your journal and its cute too.😊


Of course if you are journaling on the go you need a way to store and take washi tape with you. From my Sizzix diecut packaging I used the Needle Book Diecut and cut a few of the needle books out and embossed with the Fantasy Flowers Embossing Folder. Next I cut several 12 inch pieces of washi tape and wrapped. Easy Peasy! 


I also cut two House/Pocket Stitchlet Diecuts out and folded the "roof" down on each diecut and adhered a butterfly from the Birds and Butterflies Diecuts  on the tip of the "roof". I glued two of the corners down to the outside cover and now I have a place to hold washi tape and journaling cards.
  

Some of the washi tape cards I used a mini clothes pin to hold it in place.


Here is a sneak peek of my journal filled up and ready to be journaled in. Be sure to hop on over to Eileen Hull's blog to see what the other Inspiration Team members have created! You can find those posts HERE and HERE.


 If you have any questions about this project please let me know!


 Thanks for stopping by, hope your Tuesday is awesome and enjoy creating!