
Hi everyone and Happy Spring! It is finally warming up and I am so glad. I love that flowers have started blooming and the trees are starting to turn green. I want to share four projects I created using some of Eileen Hull's newest diecuts.
With Easter being this Sunday I decided for my first project I would create a mini Easter basket from a sheet of Little Sizzles Mat Board, patterned cardstock and the Cookie Box diecut. I inked the inside, edges and creases of the basket with Broken China Distress Paint before putting it together. I adhered the patterned cardstock to the outside of the basket, added the mini pom pom trim and punched holes on either side and ran a pipe cleaner threw each side of the basket to create a handle.

I used the Brenda Walton's Medallion diecut-658339 (which is retired) to added a fun twist to the front of the basket along with a vintage little chick sticker and I printed the Happy Easter sentiment from the computer to finish it off. Since I am on a 21 day no sweets or junk food ban I filled my little basket with crafty goodness.


I punched two small holes so I could add twine and knob as a closure for the chest.

I added paper flowers...store bought and handmade along with twine, thread, pearl sprays and the paper leaves are cut from the Holiday Greenery Diecut.

I adhered lace on the back of the chest to cover the edges of the cardstock I cut to define the base and the lid.


Now it is ready to store some of my washi tape. :-)

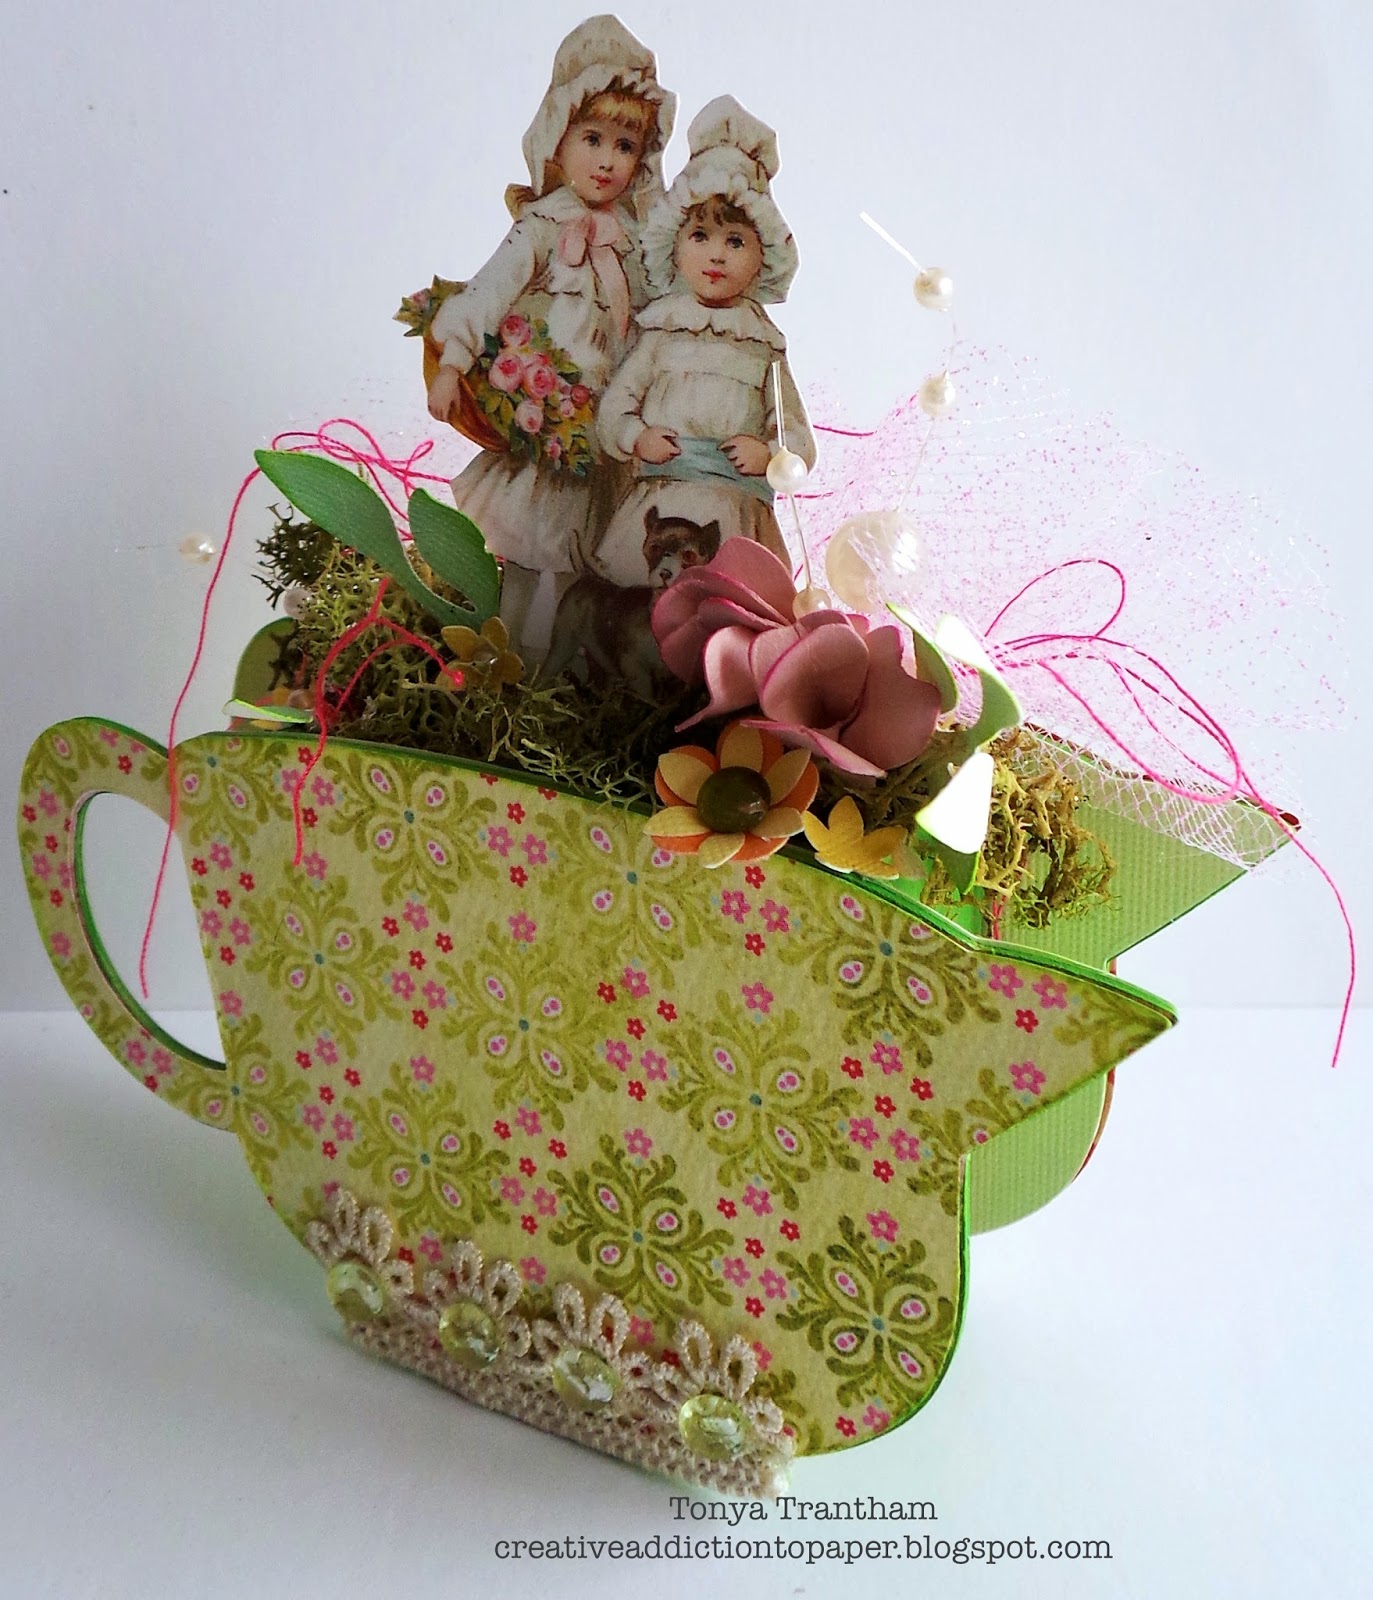
My third and fourth projects I cut two bowls each from the Mixing Bowl Diecut and I also used the 3D Food Jar and Spoon Diecut "pocket" to create an adorable arrangement. I printed these little girls and the other little girl with bowl for the other mixing bowl and then fussy cut out. I purchased these from Eclectic Anthology.

I used the Rose, 3D Diecut (558504) along with the Holiday Greenery Diecut, a few punched flowers, tulle, thread and moss to add finishing touches to the bowl.
This little bowl I kept simply by adding a little moss, paper flowers and leaves and I finished off the outside with lace and flatback pearls.

I have you have enjoyed all of my projects I shared with you today and if you have any questions about any of them please let me know.
Thanks for stopping by, hope your Friday is awesome and enjoy creating!

Wow! Such amazing projects! Love all of the details and embellishments you added! Everything is just perfect! BL
ReplyDeleteWonderful projects. They are all so very detailed. Fantastic job. BL
ReplyDeleteI love how you altered the cookie box...just amazing! Can you tell me where the black and white washi came from?
ReplyDeleteThank you Lyne :-) I purchased the black and white washi tape at Michaels.
DeleteI've dabbled very lightly in altered art. I don't think I could ever master it like you have! I’m stopping by to give you some Bloggie Love! Thanks for your dedication to commenting on and sharing my work.
ReplyDeleteLa-Vie B.
Follow me at C’est La-Vie Designs Unlimited, LLC
Gorgeous projects! You rock the altered art world! BL
ReplyDeleteyour projects are amazing!!!!! bl
ReplyDeleteOMG.. stunning and beautiful projects.. each so precious and elegant. BL
ReplyDeleteYou have been very busy and each one is just gorgeous. BL
ReplyDeleteWOW! These projects are amazing! bl
ReplyDeleteOh My! Those are wonderful! BL
ReplyDelete