Showing posts with label printable. Show all posts

Wednesday, November 14, 2018

Lets Celebrate! Card

Hi everyone! I wanted to share a card I created for Eileen's birthday that was a couple of weeks ago! 


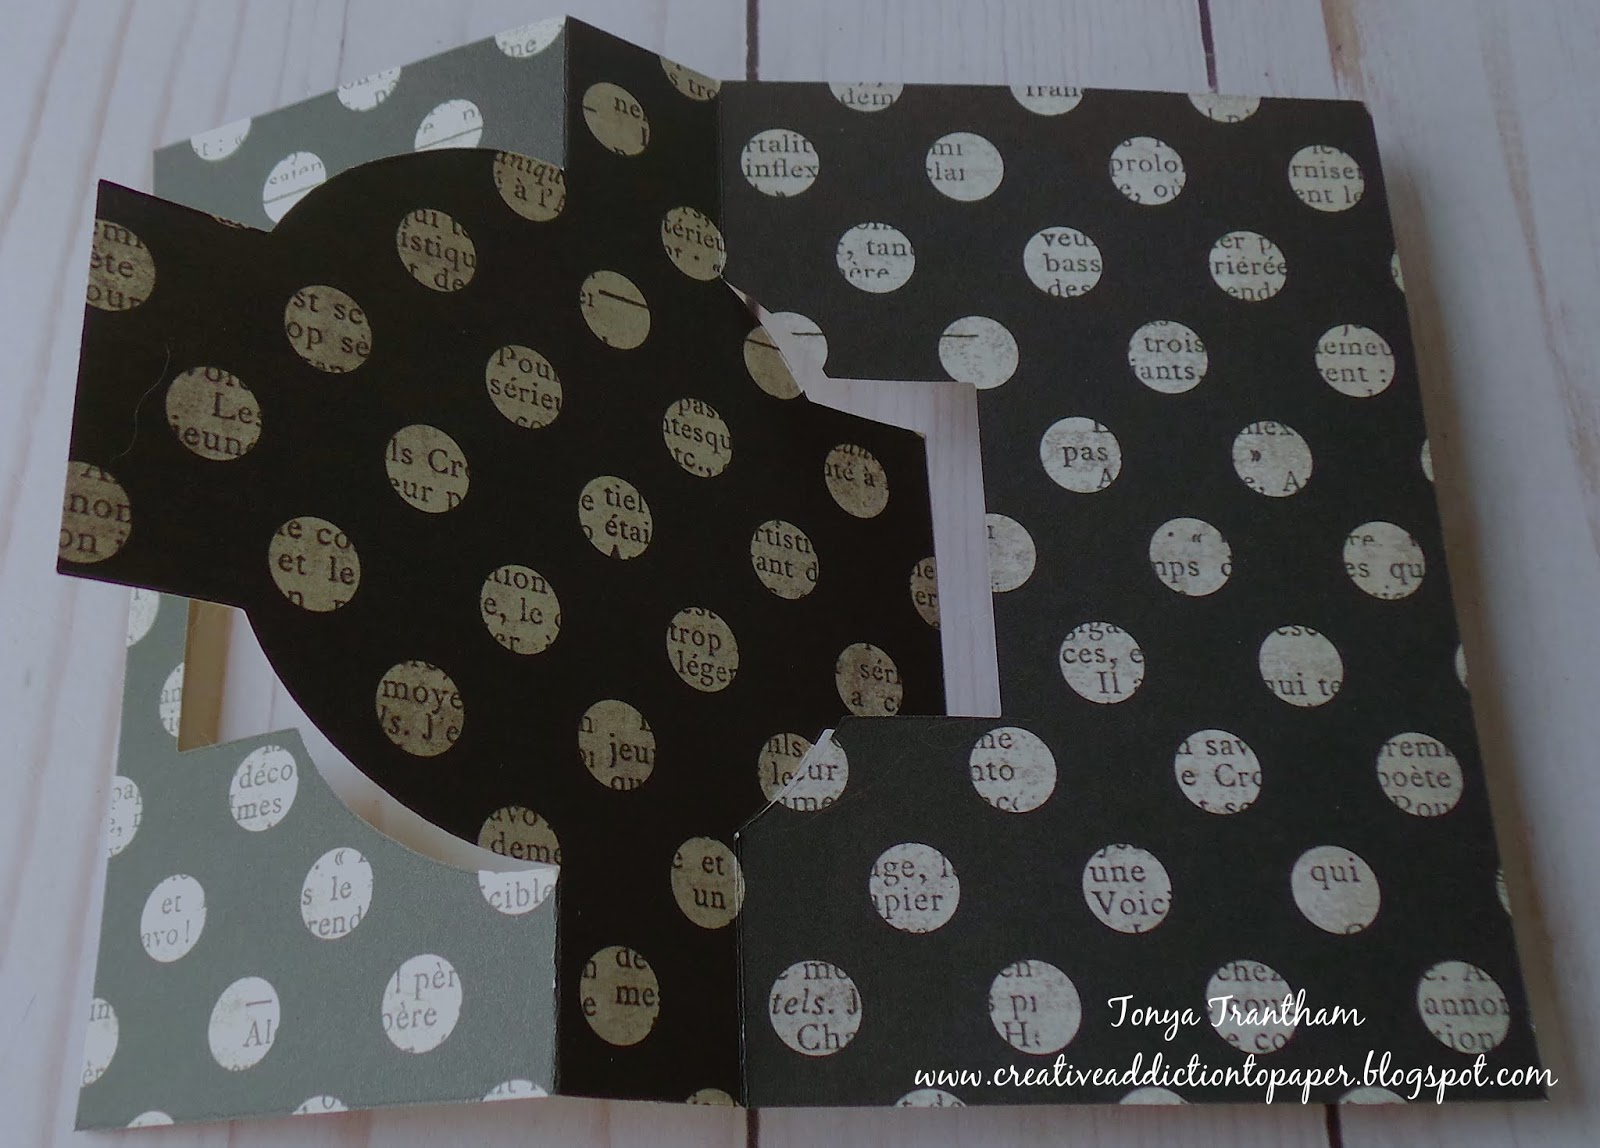
I started by cutting a Ornate, Flip-its #2 Card Diecut (retired) from double sided patterned card. 


On the back of the card I adhered to strips of patterned cardstock and printed from my computer the sentiments "It's Your Birthday!" and "Lets Celebrate". I cut out the "It's Your Birthday!" sentiment and glued to the strip.


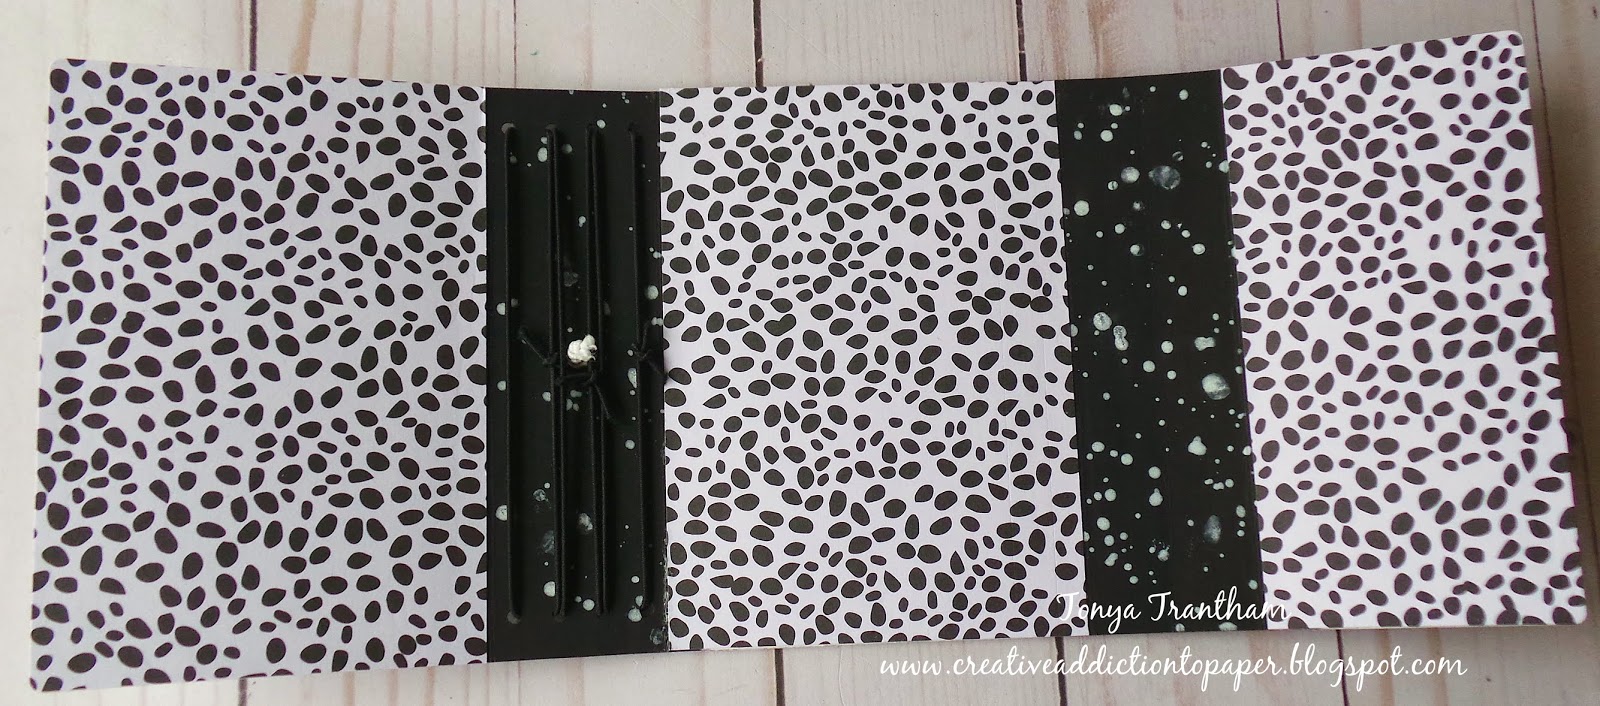
From a piece of vellum I cut the Spellbinders Beaded Circles Diecut (retired but found a few on Amazon) and adhered to the flip part of the card along with two strips of patterned cardstock.


The digital image of the vintage women I purchased from Lisa's Altered Art which you can find HERE. I printed and fussy cut the image of the women with one of the party hat out and adhered to the card. 


I added Stickles to the collars and sleeves of each of the women's outfits and let dry.


I cut from various patterned cardstock a flower and leaf sprig from the Flower and Leaves Journaling Cards Diecuts, inked the edges of the flower with gold ink and covered the leaf sprig completely with Stickles (let dry first) and adhere both to the corner of the card.


I added the sequin, Glossy Dot and thread to the flower and finished by gluing the sentiment to the bottom of the card. My card got to Eileen a "little late" but that was ok because she got to celebrate her birthday just a little bit longer. 😉 As always if you have any questions about this project please let me know.


Thanks for stopping by, hope your Wednesday is wonderful and enjoy creating!


Thursday, November 1, 2018

Fall Tea Cup

Hi everyone and Happy November! I want to share an Autumn themed tea cup I created for ClearSnap! 


I started by printing out a Tea Cup Printable from Layers of Color which is found on Pinterest. I printed on burnt orange cardstock and fussy cut tea cup and saucer images out and adhered all pieces together, including a paper doily that I added to the sauce before adhering to the cup. I also glued a small wadded piece of tissue paper to the bottom of the tea cup.


I cut Millinery Leaves Diecuts from white cardstock and inked the glass tray with the following ColorBox Blends Inks: Melon, Frog, Golden, Sunshine and Nutmeg. I added water to each ink and applied the ink mixture randomly to each leaf diecut.


While the leaves were still a little damp I shaped with my hand and let dry.


I adhered lace around the top of the tea cup and added dry moss inside the cup.


Once the leaves where dry I shaped and inked the edges of each leaf with Top Boss Embossing Powder Stamp Pad. I added Copper Embossing Powder to each of leaf diecut and set with a heat tool. I completed the same steps for each Golden Sparkle and Opalescent Embossing Powders as I did the Copper Embossing Powder.


I adhered the leaves inside tea cup along with mini pumpkins and mini pine cones. I finished by placing tulle and cording as a filler between mini pumpkins and mini pine cones. Now are you ready to create one for yourself? 😀 As always if you have any question please let me know.


Thanks for taking the time to stop by, hope your Thursday is wonderful and enjoy creating!


Tuesday, September 25, 2018

Eileen Hull: Mushroom Wrapped Journal

Hi everyone! I back today with my Eileen Hull's Inspiration Team project! The challenge for this month was to create a project in a Halloween/Autumn theme. It has been hard to get excited about Fall since the temperatures have been in the upper 80's to lower 90's so I decided to use the new DCWV Okey Dokey Paper Pad and go with a black and white leaves, flowers and mushroom theme...you could say kinda Autumn themed. 😁


First I cut the Wrapped Journal Diecut from Mat Board and inked the inside and outside spines with ColorBox Blends Ebony Ink. Once it was dry I splattered ColorBox Blends Coconut and Flagstone onto the outside and inside spines.


I cut the inside cover with one of the black and white speckled cardstock from the Okey Dokey Paper Pad and adhered inside.


From the same paper pad I picked out the black and white line drawings of leaves, flowers and mushroom and cut and adhered to the outside cover. From the internet I found a vintage black and white drawing of a mushroom. I printed and fussy cut the mushroom out. I adhered a piece of patterned cardstock to the smaller cover and the mushroom. On the larger cover I applied a piece of Adhesive Sheet to the back of patterned cardstock. I placed the "Journal" Diecut from the Journaling Words Diecuts and  ran through the diecut machine. I peeled the backing off of the adhesive and added the "Journal" diecut to the cover. I poked a small hole in the center of the spine and ran white elastic cording through the hole and tied off to create a closure. I also strung black elastic cording in the spine to hold journaling notebooks.


I cut the stitching out of a mini notebook. You can find these in packs of three at the Dollar Tree. 


I got four booklets with six pages each from the one mini notebook.


From the Okey Dokey Paper Pad I cut covers for each of the notebooks and then stitched all pages and covers together. I also added my initial  and "Journal" diecut to the cover of two of the notebooks.


I also cut dash boards to cover some of the notebooks and some will hold sticky notes.


I plan on adding more to the journal and will share once I finish those projects. 😀 Also be sure to stop by Eileen Hull's blog to see the latest projects the Inspiration Team has created. You can find those post HERE and HERE. As always if you have any questions about this project please let me know.


I would also like to submit this project for the following challenge.

Mini Album Makers Challenge: September


Thanks for stopping by, hope your day wonderful and enjoy creating! 


Monday, August 6, 2018

Dog Gone Birthday Card

Hey everyone! I wanted to share a quick card I created with y'all today! I had actually started the base of this card a couple of years ago (I only had the pink patterned cardstock on the base of the card) and wound up putting it a side and then completely misplacing it. 😳 I came across it while looking for something else and decided to finally finish it. I started by inking the edges of the card with a chalk ink and then I added the scalloped diecut, banners and I printed the sentiment from the computer.


The girl and dog images are from Lisa's Altered Art on etsy. I printed and fussy cut the image out and adhered to the card. I cut from patterned cardstock the little party hats which I added to each dog.


I dug into my flower stash and added store bought paper flowers and I also adhered two flowers that I had leftover from a pervious project. These I had cut from Crinoline fabric using the Journaling Cards, Flowers and Leaves Diecuts,inked with ClearSnap ink and added two Glossy Dots. There you have it! A quick and simple card that should have been finished a couple of years ago!😂 As always if you have any questions about this project please let me know.

Also I would like to submit this card for the following challenges:
Word Art Wednesday Challenge: #346-#347
Crafter's Castle: Challenge #8


Thanks for stopping by, hope your Monday is great and enjoy creating!


Wednesday, March 28, 2018

Five and Dime Mini Album

Hi everyone! I'm back with a fun little album I created with toilet paper rolls, Eileen Hull's Book Binding Diecut and Amyjdelightful's Small Town Feel Printable. I was selected to be a "Project Girl" for Amy this month on her instagram page which you can find HERE.


I gathered up an assortment of cardstock, leftover scraps, four of 1.75" Expander Discs and a pair of scissors and began fussy cutting all of the images out from the printable.


Before I embellished I flattened, added patterned cardstock to each TP roll and used the Book Binding Diecut  before adding pockets and tuck spots to the pages.


I cut a Medallion Diecut out and adhered the 25 cent printable to the center.


The paper bow I received in a swap so I added a flower to the center before embellishing the page.


 I cut some of the tags with the Bookplate, Hinges and Label Diecuts. and added printables and tabs.


On the backside of the tags I adhered some of the printables to create mini pockets to hold tags.


As always if you have any questions regarding this project please let me know.


I would also like to submit this project for the following challenges:

Mini Album Makers Challenge: March Mini
Word Art Wednesday: Challenge #328-#329


Thanks for stopping by, hope your Wednesday is wonderful and enjoy creating!


Friday, March 9, 2018

Hey Friend Tag

Hi everyone! I wanted to share a fun tag I created using a wide assortment of mediums...embossing folder, diecuts, inks, punches, etc. You can say I pretty much used everything but the kitchen sink. 😃 


I started with a 6.25"x3.125" Tag as the base and I embossed with the tag with Tile Embossing Folder. I used the following ColorBox Blends: Sunshine, Melon, Wildberry and Tutu which can be found HERE and HERE which I lightly inked each color over the tag.


I used the Crate Paper Bloom Collection to cut banners and Friend Diecut (Floral Arch and Words Diecuts) before cutting out the friend die I applied an Adhesive Sheet to the back of the cardstock and once the word was cut out I peeled the backing off and added to the tag. Since I couldn't find a "Hey" stamp I printed that from the computer and adhered it and a sequin to the sentiment.I cut the smaller Wreath Diecut out, added a little green ink here and there for color and adhered to the tag. The vintage ladies I purchased from Lisa's Altered Art on etsy. You can find this image HERE. I printed and fussy cut the select image out and added to the tag.


From my stash of lace and pom pom trim I adhered those to the bottom of the tag. Next I punched out two leaf sprigs, inked and shaped before digging into my collection of paper flowers which I adhered to the corner of the tag. I finished off the front with a wad of thread.


On the back of the tag I covered with patterned cardstock and added Ric Rac trim and seam binding.


I cut an assortment of diecuts from the Bookplate, Hinges and Label Diecuts and adhered to the tag. I left the back of the tag plain for journaling or adding a small photo. 


As always if you have any questions about this project please let me know.
Also I would like to submit this project for the following Challenges:

Word Art Wednesday Challenge: #324-#325
Simon Says: Wednesday Challenge


Thanks for stopping by, hope your Friday is awesome and enjoy creating!