Showing posts with label Elastic Cord. Show all posts

Wednesday, June 17, 2020

Decoupage Journal Cover DIY

Hey everyone! Today I am playing along with the Designer Crafts Connection's Decoupage Link Party Blog Hop! I'm sharing a simply journal cover I created using the Pocket Notebook Diecut, Botanical Tissue Paper and Mod Podge.


I started by cutting out two Pocket Notebook diecuts covers from Mat Board.


I cut two pieces of the Botanical Tissue Paper larger than the pocket notebook covers. I applied the Mod Podge to the covers with a sponge brush and then carefully placed the tissue paper onto the covers. 


I also slowly worked the air bubbles out and what didn't rub out disappeared with two more coats of Mod Podge.


I adhered both halves of the cover together, added a decorative oval diecut and a chipboard flower sticker to the cover.


I adhered patterned cardstock to the inside covers and spine. I also strung the spine with elastic cording to hold notebooks and closure.
There you have it! I plan on adding junk journal style notebooks to this at a later date so stay tuned. Be sure to hop along with the rest of the DCC team and see how they used decoupage in their projects. You can  the post HERE. Also if you have any questions about this project please let me know.


Supplies

Sizzix/Eileen Hull: Pocket Notebook Diecut
Sponge Brush
Elastic Cording
Patterned Cardstock
Floral Chipboard Sticker and Oval Diecut
Beacon Adhesive: Zip Dry Adhesive

(Products listed above are Affiliated Links for your convenience)

DISCLAIMERS
This blog is compensated to provide opinion on products, services, websites, and various other topics. Even though the owner(s) of this blog receives compensation for our posts or advertisements. I always give my honest opinions, findings, beliefs, or experiences on those topics or products. The views and opinions expressed on this blog are purely my own. Any product claim, statistic, quote or other representation about a product or service should be verified with each manufacturer, provider, or party in question.This blog contains affiliate links, clicking and shopping through these links helps to support and run Tonya Trantham Designs - Creative Addiction to Paper Blog at no additional cost to you. Today's features are Scrapbook.com Products. 


Thanks for stopping by, hope your day is great and enjoy creating!


Thursday, November 14, 2019

Mini Snowflake Journal

Hi everyone! I'm back this week with my second project of the month for Momenta and I thought since Christmas is oh so close I would create a micro journal with a leftover needle book diecut that I had cut out in leather. Also have you been by Hobby Lobby and seen all of Momenta's newest Christmas/Holiday diecuts and embossing folders?!?!? If not you need to make a special trip just to get some of these fabulous diecuts and embossing folders!


As I stated I had a leftover needle book diecut that I had cut from leather and I decided I wanted to try and use part of the Let it Snow embossing folder and the snowflake diecut to emboss the leather. I spritzed the areas that I was going to emboss/add diecut with water and placed the bottom edge of the journal and the belly band into the embossing folder (emboss snowflakes only) and run through the Diecut Machine. I completed the same steps for the snowflake diecut too. For people that don't have access to leather or would like to created this journal out of cardstock the size is 5"x3 5/8".


In the spine I added a total of four eyelets with the Crop-A-Dil. I ran the Hot Pink Elastic through the eyelet holes and the belly band and tied off.


Then I cut a piece of patterned cardstock from the Peony Paper Pad to 3 1/8"x4" and several piece of notebook paper slightly smaller than the cover. I punched two holes in the spine and sewed the notebook paper inside of the cover.


I punched out a Scalloped Circle from the same paper pad and adhered to the front of the notebook and cut a snowflake diecut out and added to the scalloped circle along with a sequin and gem.


I also cut four star diecuts out and adhered them back to back at the ends of the twine that I had tied off inside of the notebook and added a gem to the center of each one.


 I hope you have enjoyed this project as much as I enjoyed creating it! If you have any questions please let me know.


Also if you're not following Momenta on their social networks you can find them on Facebook, Instagram, twitter, YouTube and Pinterest.


Supplies

Momenta: Diecut Machine
Momenta: Peony Paper Pad
Momenta: Let it Snow Embossing Folder with Diecuts
Beacon Adhesive: Zip Dry Adhesive
Eileen Hull: Needle Book Diecut (retired)
Eyelets
Gems
Sequin
Notebook Paper
Twine

(Products listed above are Affiliated Links for your convenience)


DISCLAIMERS
This blog is compensated to provide opinion on products, services, websites, and various other topics. Even though the owner(s) of this blog receives compensation for our posts or advertisements. I always give my honest opinions, findings, beliefs, or experiences on those topics or products. The views and opinions expressed on this blog are purely my own. Any product claim, statistic, quote or other representation about a product or service should be verified with each manufacturer, provider, or party in question.This blog contains affiliate links, clicking and shopping through these links helps to support and run Tonya Trantham Designs - Creative Addiction to Paper Blog at no additional cost to you. Today's features are Momenta Products. 


 Thanks for stopping by, hope your Thursday is wonderful and enjoy creating!


Tuesday, October 9, 2018

ClearSnap: Woodsy Autumn Planner

Hi everyone! I'm back with another project this week that I created using the Wrapped Journal Diecut and an assortment of inks from ClearSnap.


I started by cutting one Wrapped Journal Diecut from Mat Board and emboss both flaps with Woodgrain Embossing Folder.


I inked my glass tray with Nutmeg Blends Ink ,add water and painted the outside of the journal and both inside spines with watered down ink and let dry. Next I loaded several Art Daubers with the following inks: Mercantile: Candied Yam and Red Barn, Cornucopia: Pumpkin Spice Inks and lightly rub over the outside/inside in random spots on the journal to emulate woodgrain texture on the cover. I inked the glass tray with Flagstone and Coconut Blends Inks,added water to each color and loaded a paint brush with watered down Flagstone ink and splatter on the outside cover and inside spine and let dry. I completed the same steps as with the Flagstone ink with the Coconut ink and let dry.


I cut and adhere patterned cardstock to the inside of journal and strung elastic cording to the inside of the spine and tie off.


I cut from watercolor paper a set of leaves from the Journaling Cards, Flowers and Leaves Diecuts and took one small leaf diecut and ink with Coral and Dandelion Premium Dye inks and shape. Once dry I inked with the Clear Embossing Pad and add Copper Embossing Powder to the clear embossing and set with the heat tool. I completed this step again for each of the following embossing powders:  Gold Sparkle and Opalescent


I cut three pieces of cardstock in various sizes to create a flap for the front smaller cover and adhered. I punched a small hole in the center and at the end of the flap and add decorative brad. I cut two more pieces of cardstock to cover the back of the brad on the inside cover. 


I cut out one small wreath diecut, one circle punch and one seal circle punch and adhered to the cover. I adhered a doll head to the corner of the wreath, loop hemp cording, embossed leaf and two mini flowers next to the doll head and added mini gems to the flowers.


I cut 28 inches of hemp cording and fold in half and tied securely around brad.


I wrapped cording around journal and tie a knot about an inch under the brad, add three beads and tie off. Cut off excess cording. As always I welcome comments or questions about this project.


I would also like to submit this project for the following challenges:

Mini Album Makers Challenge: October


Thanks for stopping by, hope your Tuesday is wonderful and enjoy creating! 


Tuesday, September 25, 2018

Eileen Hull: Mushroom Wrapped Journal

Hi everyone! I back today with my Eileen Hull's Inspiration Team project! The challenge for this month was to create a project in a Halloween/Autumn theme. It has been hard to get excited about Fall since the temperatures have been in the upper 80's to lower 90's so I decided to use the new DCWV Okey Dokey Paper Pad and go with a black and white leaves, flowers and mushroom theme...you could say kinda Autumn themed. 😁


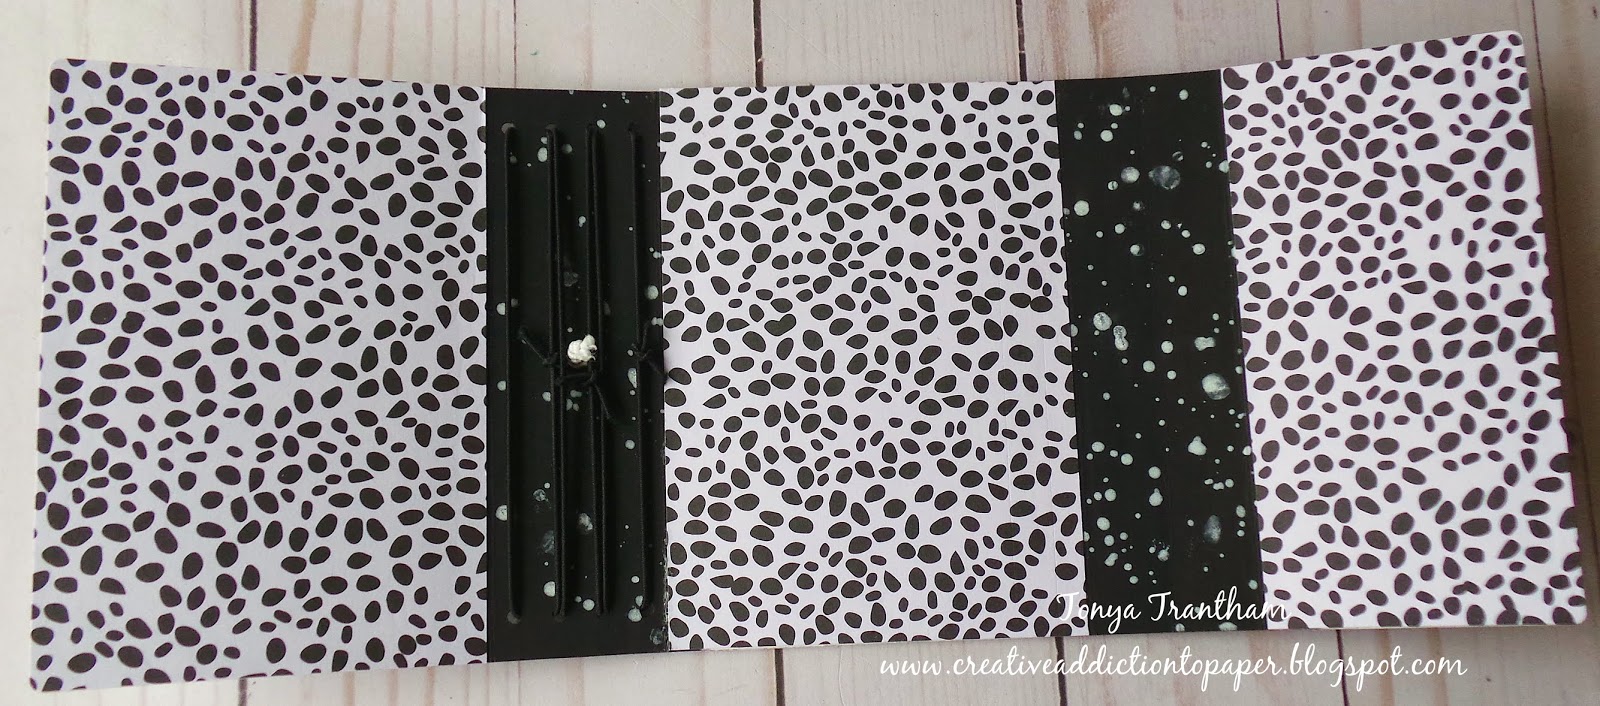
First I cut the Wrapped Journal Diecut from Mat Board and inked the inside and outside spines with ColorBox Blends Ebony Ink. Once it was dry I splattered ColorBox Blends Coconut and Flagstone onto the outside and inside spines.


I cut the inside cover with one of the black and white speckled cardstock from the Okey Dokey Paper Pad and adhered inside.


From the same paper pad I picked out the black and white line drawings of leaves, flowers and mushroom and cut and adhered to the outside cover. From the internet I found a vintage black and white drawing of a mushroom. I printed and fussy cut the mushroom out. I adhered a piece of patterned cardstock to the smaller cover and the mushroom. On the larger cover I applied a piece of Adhesive Sheet to the back of patterned cardstock. I placed the "Journal" Diecut from the Journaling Words Diecuts and  ran through the diecut machine. I peeled the backing off of the adhesive and added the "Journal" diecut to the cover. I poked a small hole in the center of the spine and ran white elastic cording through the hole and tied off to create a closure. I also strung black elastic cording in the spine to hold journaling notebooks.


I cut the stitching out of a mini notebook. You can find these in packs of three at the Dollar Tree. 


I got four booklets with six pages each from the one mini notebook.


From the Okey Dokey Paper Pad I cut covers for each of the notebooks and then stitched all pages and covers together. I also added my initial  and "Journal" diecut to the cover of two of the notebooks.


I also cut dash boards to cover some of the notebooks and some will hold sticky notes.


I plan on adding more to the journal and will share once I finish those projects. 😀 Also be sure to stop by Eileen Hull's blog to see the latest projects the Inspiration Team has created. You can find those post HERE and HERE. As always if you have any questions about this project please let me know.


I would also like to submit this project for the following challenge.

Mini Album Makers Challenge: September


Thanks for stopping by, hope your day wonderful and enjoy creating! 


Tuesday, July 3, 2018

Eileen Hull: Pleather Wrapped Journal

Hi everyone! Can you believe it is already July?!?! I can't! When I created this wrapped journal for Eileen Hull's  booth at Creativation it was in January! If you haven't seen my past blog posts from last month of this newest diecut from Eileen's Book Club Chapter 2 Collection you can find those HERE, HERE and HERE.


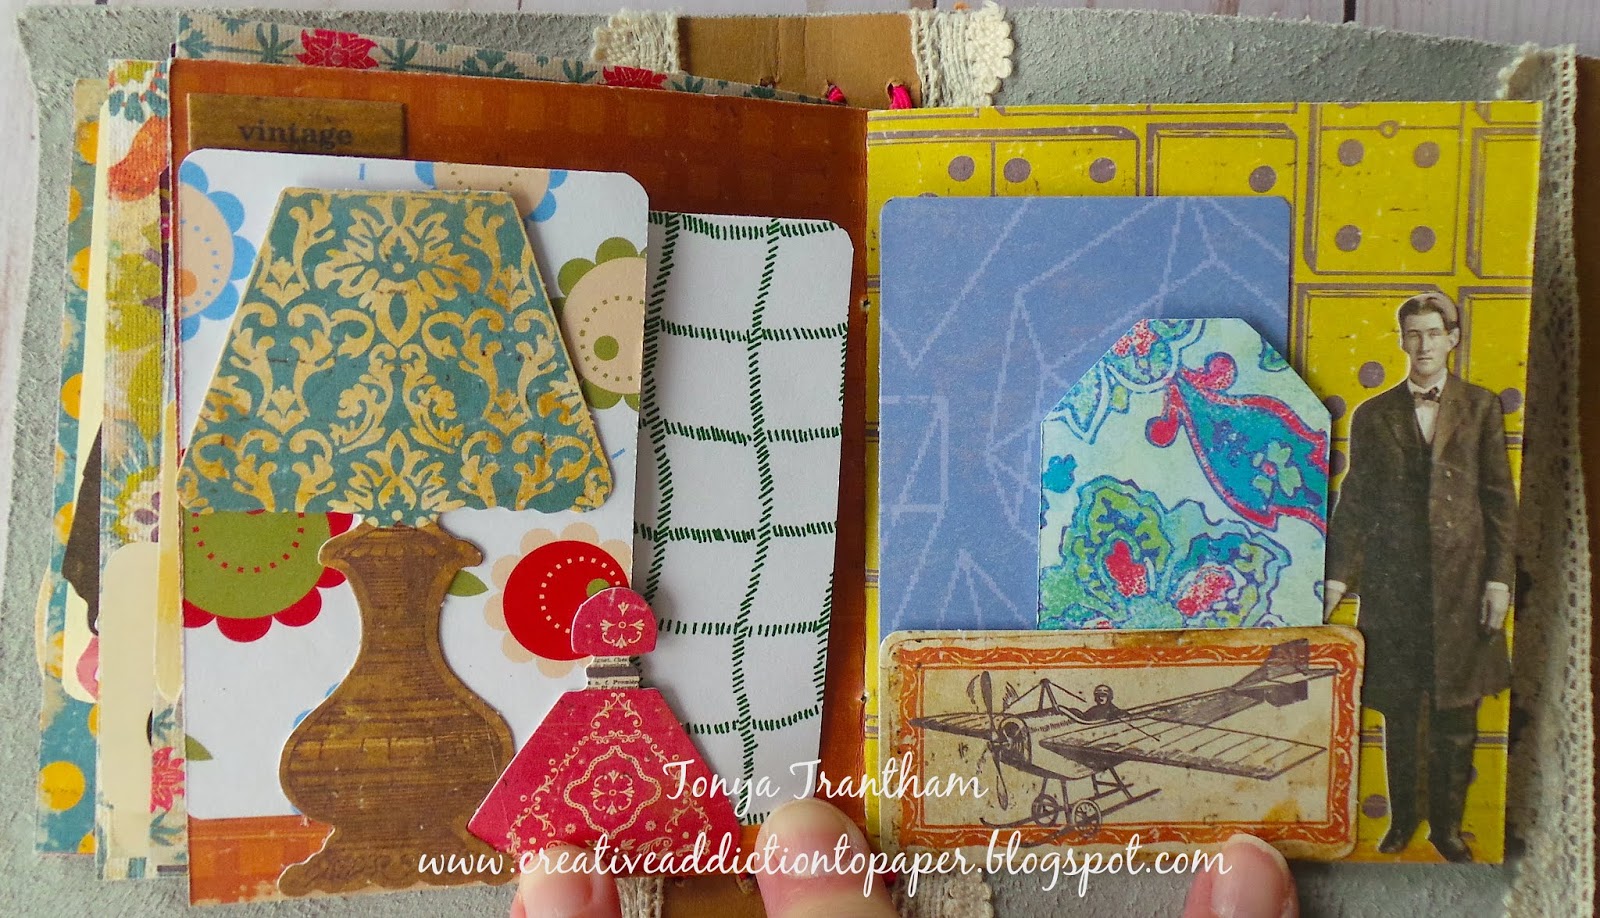
The Wrapped Journal Diecut I used a piece of "pleather" (plastic that looks like leather) to create this journal. I cut to fit two a pieces of Kraft Paper Leather and adhered to the inside on both spines. I also cut a piece of lace to cover the spine where the booklets would be and glued with Fabri-Tac Adhesive. 


I strung elastic to hold the booklets and tied off inside of the journal. I punch a small hole on the smaller flap and added a decorative brad which I tied bright colored seam binding around the brad. On the inside I adhered lace on either side of the paper leather.


Since I used bright and cheery colors for my journal I went with a similar theme for the inside of the journal.


I used Paper Doll Diecuts through out the journal.


Since I am a hoarder of scrapbook paper, embellishments, etc. This year I have tried to incorporate more of my stash into what I am creating.


I think the little sayings and whimsical diecuts are from Crate Paper but not for sure? I had received those in a swap a few years back. But I think they are a perfect compliment to the paper dolls.


I used up a lot of scraps of cardstock by cutting out several tags from the Credit Card Sleeve and Tags  Diecuts.


I adhered only the lower part of the paper dolls to the page so I could add several tags behind them.


Be sure to stop by Eileen Hull's blog and see what her Inspiration Team has been up to. You can find her blog HERE. As always if you have any questions about this project please let me know.


Also I would like to submit this project for the following challenges:
Mini Album Challenge: July
Cut It Up: Challenge #151


Thanks for stopping by, hope your Wednesday is wonderful and enjoy creating!