Hi everyone! Easter is right around the corner and I am sharing this little shaker mini album I created for this month's challenge over on Eileen Hull's blog using Paper Leather, Ink Sheets, Luggage Tag and the Rosebuds embossing folder from the Rosebuds and Seed Packet Set.
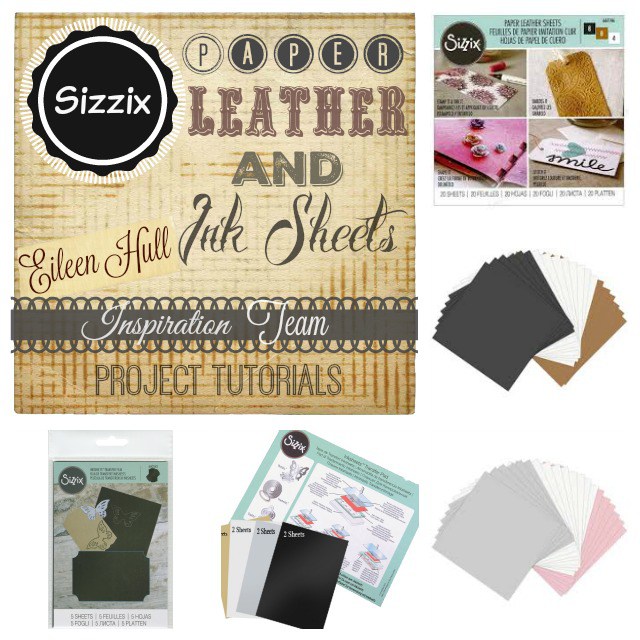
You can find past inspiration teams projects HERE and HERE using the Paper Leather and Ink Sheets. Also check out these videos HERE and HERE which gives tips and ideas on how to use to use both of these products.
If you have checked out the links I provided you can see there are so many different things you can create with these!!!
For my project I cut out five of the luggage tags from Matboard and then cut each one apart at the fold.
I inked all edges of the diecuts with Picked Raspberry Distress Stain. From the packaging that the Luggage Tag came in I cut two pieces of plastic a little bit bigger than the"windows" of the diecut. I adhered to one side of two of the windows and put aside to let the glue dry very well since I don't want sequins and beads to get stuck to the edges.
I cut two of the "window" tags from the pink paper leather, a gold ink sheet and then embossed each one with the Rosebud embossing folder.
I also embossed both of the window inserts the same way and I used a hole punch and punched a hole in the top of each one.
I adhered four of the window tags together along one of the tags that I had glued the plastic to create a window. Once dry I added a variety of sequins, seed beads and a couple Spring like buttons and adhered the other tag with the plastic to create a shaker tag.
I adhered the paper leather to each side of the shaker tag.
I added flowers, button and pearl sprays to the front of the shaker tag.
I covered two of the tags with some gorgeous Karen Foster Easter cardstock and the inserts from the window tags I embellished with a bunny diecut that I had received in a swap. All I had to do was add a mini white pom pom for a tail to finish it off.

I tied all of the tags together with seam binding. I kept embellishments to a minimum since I plan on adding photos either from my Instax printer or from my phone. The two little dangly tags are from swaps too and I thought where a perfect addition. I love how the ink sheets made the paper leather have a "old and gilded" look which compliments the other elements in this mini.
Be sure to hop on over to Eileen's blog to see what the other inspiration team members are up to and if you have any questions about this project please let me know.
Supplies Used:
Sequins, Buttons, Paper Flowers, Dew Drops, Cardstock, Seam Binding, Beacon Adhesive, Picked Raspberry Distress Stain, Dew Drops
Thanks for stopping by, hope your Tuesday is awesome and enjoy creating!