Showing posts with label Book Binding. Show all posts

Monday, August 17, 2020

Eileen Hull: This Everyday Life Mini Junk Journal

 Hi everyone! I would like to share that I now have a new blog with Wordpress! Also I'm sharing complete details on how I created this junk journal for Eileen Hull's Inspiration Team this month. You can find the post HERE on my new blog!


Supplies

Sizzix/Eileen Hull: Gift Box Scalloped Edges and Label Diecut

Mat Board

Paper Cutter

Diecut Machine

Beacon Adhesive: Zip Dry Adhesive

Crop-A-Dile

Scissors

Various Patterned Cardstocks, Embellishments, Diecuts and Stickers

Charm, Eyelet and Trim

(Products listed above are Affiliated Links for your convenience)
 
DISCLAIMERS
This blog is compensated to provide opinion on products, services, websites, and various other topics. Even though the owner(s) of this blog receives compensation for our posts or advertisements. I always give my honest opinions, findings, beliefs, or experiences on those topics or products. The views and opinions expressed on this blog are purely my own. Any product claim, statistic, quote or other representation about a product or service should be verified with each manufacturer, provider, or party in question.This blog contains affiliate links, clicking and shopping through these links helps to support and run Tonya Trantham Designs - Creative Addiction to Paper Blog at no additional cost to you. Today's features are Sizzix, Eileen Hull and Scrapbook.com Products. 


Thanks for stopping by (hope you will follow my new blog), hope your day is awesome and enjoy creating!


Wednesday, April 22, 2020

Lovely Butterfly Girl Mini Book

Hi everyone! I'm back today with a super quick and easy project using Eileen Hull's newest Tiny Book Diecut!


I started by applying Adhesive Sheets to the front and back of a piece of Chipboard, adding patterned cardstock to both sides before running through the Diecut Machine


I wrapped the spine with lace and added ric rac trim to both edges of the lace. I added a leftover oval diecut, from my stash, and a little vintage girl with a butterfly sticker that I placed on the back side of the girl to the cover. I adhered a piece of pom pom trim, a sentiment, metal piece, sloppy thread bow and heart gem to  finish the cover.


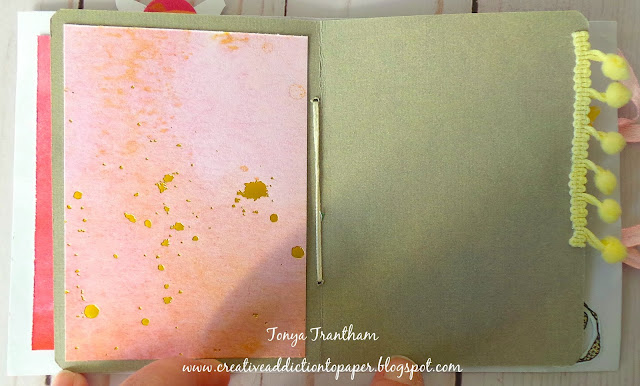
I cut a couple of sheets of accounting paper to fit the inside of the book. I punched holes in the spine of the paper and cover and sewed the pages together and added to the spine.


I covered the thread where I sewed the pages into the book with ribbon and ran the ribbon underneath  the decorations on the cover to create a closure.


Now how easy was that?!?! This little book is a great way to use up those little scraps of cardstock that you have laying around in your craft room. If you would like to see more creativity stop by Eileen Hull's blog to see what her Inspiration Team has been up to. You can find those posts HERE, HERE and HERE.


Supplies

Eileen Hull/Sizzix: Tiny Book Diecut
Lace, Ribbon, Ric Rac and Pom Pom Trim
Beacon Adhesive: Zip Dry Adhesive 
Needle 
Thread
Heart Gem
Various patterned Cardstock
Stickers
Account Paper

(Products listed above are Affiliated Links for your convenience)

DISCLAIMERS
This blog is compensated to provide opinion on products, services, websites, and various other topics. Even though the owner(s) of this blog receives compensation for our posts or advertisements. I always give my honest opinions, findings, beliefs, or experiences on those topics or products. The views and opinions expressed on this blog are purely my own. Any product claim, statistic, quote or other representation about a product or service should be verified with each manufacturer, provider, or party in question.This blog contains affiliate links, clicking and shopping through these links helps to support and run Tonya Trantham Designs - Creative Addiction to Paper Blog at no additional cost to you. Today's features are Eileen Hull, Sizzix and Scrapbook.com Products. 


Thanks for stopping by, hope your Wednesday is awesome and enjoy creating!


Wednesday, February 19, 2020

Chunky Mini Vintage Junk Journal

Hi everyone! I had started this project almost two years ago...do you have  several of those types of projects laying around? 😬 I had started this for another design team that I was on but the company was bought out and all the design team members were let go. Soooo I just laid it aside with the intent of finishing it for one of Eileen Hull's projects. When I did pick it back up to work on it I found out the Needle Book diecut had been retired. Soooo I put it up again until now. One of my goals for this year is to work on my mountain of unfinished projects...along with new projects, of course! 😁  


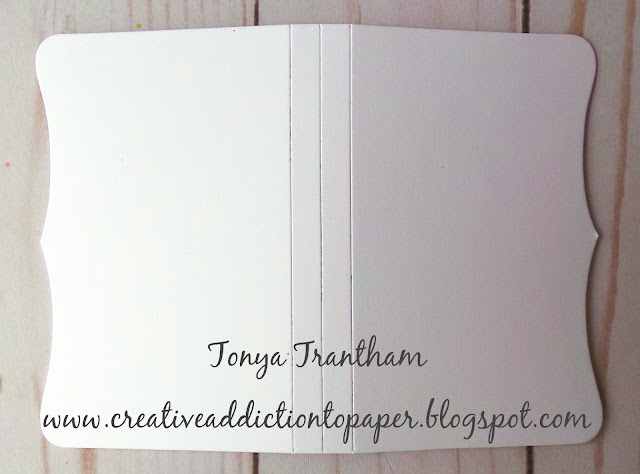
I started by applying Adhesive Sheets to the front and the back of a piece of Mat Board, placing on top of the diecut and running through the Diecut Machine. I then cut the diecut down the middle of the spine.


I cut another needle book from mat board and I cut it down the middle diecut. I measured 1" on each side of the fold and cut.


Then I cut another piece of matboard 2" wide by 3 5/8" high and adhered each 1" sides to the matboard. This re-enforces the spine of the needle book.


I adhered each of the covers to each of the flaps of the spine.


I measured on the inside of the spine and marked where I would sew in the signatures and punched small holes on both ends of the spine.


Each signature has 8 pieces of patterned cardstock. I used an abundance of leftover scraps from my stash.


I punched holes in the signatures and sewed each one into the spine and tied off.


Before decorating the inside pages I decorated the cover with a frozen Charlotte that I made with a mold and paper clay. I inked it and added butterfly wings to the back. I added an oval diecut, a flower with leaves before adhering the frozen Charlotte to the cover. 


I added bits of ephemera, scraps of cardstock, diecuts, etc. to the pages of this mini. 


As always if you have any questions about this project please let me know.
Also I would like to submit this project for the following challenge: 
Mini Album Makers Challenge: February


Supplies

Eileen Hull/Sizzix: Needle Book Diecut (retired)
Beacon Adhesive: Zip Dry Adhesive
Ephemera
Paper Flowers
Twine
Needle
Frozen Charlotte Figurine 
Various Patterned Cardstocks Scraps


(Products listed above are Affiliated Links for your convenience)

DISCLAIMERS

This blog is compensated to provide opinion on products, services, websites, and various other topics. Even though the owner(s) of this blog receives compensation for our posts or advertisements. I always give my honest opinions, findings, beliefs, or experiences on those topics or products. The views and opinions expressed on this blog are purely my own. Any product claim, statistic, quote or other representation about a product or service should be verified with each manufacturer, provider, or party in question.This blog contains affiliate links, clicking and shopping through these links helps to support and run Tonya Trantham Designs - Creative Addiction to Paper Blog at no additional cost to you. Today's features are Eileen Hull, Sizzix and Scrapbook.com Products. 


Thanks for stopping by, hope your Wednesday is awesome and enjoy creating!


Wednesday, June 27, 2018

Eileen Hull: Nature Wrapped Journal

Hi everyone! I'm back with another wrapped journal I created using Eileen Hull's newest diecut collection called Book Club 2. I started by cutting a Wrapped Journal from Matboard


Before cutting and adhering patterned cardstock to the outside and inside of the journal I inked both spines inside and out with Peeled Paint Distressed Stain. Once dry I inked the edges of the spines with a light green chalk ink. I inked my glass tray with ColorBox Blends Coconut Ink and added a small amount of water. I loaded a paint brush and splattered both spines with paint. Once dry I added patterned cardstock to the cover and inside.


I cut the Flowers and Leaves Journaling Cards and embossed before inking with Peeled Paint Distressed Stain. Once dry I lightly inked over the embossed images with a brown chalk ink. I cut a piece of kraft cardstock and patterned cardstock slightly larger width wise for the cover flap and slightly larger than the Flowers and Leaves Journaling Cards. Before adhering the journaling card to the cover I backed with another piece of patterned cardstock, punched a small hole in the flap, added a green gem brad to the clear button and attached to the flap before adhering ALL pieces to the cover. I printed the word Nature from the computer and I cut the "journal" verbiage from the  Journaling Words Diecuts, lightly inked both and adhered to the cover.


I cut grid paper slightly smaller than the journal, folded and marked and punched holes before stitching each signature into the journal.


I tied off each signature on the inside of the journal. Also I forgot to add that I used jewelry cording as a closure for my journal. I dug into my stash of beads and added a few to the end of the cording. 


This journal can be used to document vegetable or flower gardening or drawing doodles from days spent outside.
If you haven't stopped by Eileen's blog to see what the Inspiration Team has been up to you can find those posts HERE, HERE and HERE. As always if you have any questions please let me know.


I would like to submit this project for the following challenges:
Word Art Wednesday Challenge Anything Goes: #340-#341
Simon Says: Work it Wednesday June: The Great Outdoors!


Thanks for stopping by, hope your Wednesday is awesome and enjoy creating!


Wednesday, June 13, 2018

Eileen Hull: Winged Charlotte Wrap Journal

Hi everyone! I want to share one of my projects I created for Creativation this past January for Eileen Hull's newest diecut collection called Book Club Chapter 2 which should be hitting your locate craft and hobby store any time this month. I am SOOOOO in love with this newest Wrapped Journal Diecut and I'm sure you will be too!!! Go ahead and grab your favorite beverage and sit back because this is a photo heavy blog post. 😊


For some reason I thought I had taken a photo of the front of the journal laid out completely but I didn't. I must have got into a "zone" when I was creating this 😉. I inked both spines, inside and out with Faded Jeans Distressed Stain and once dry I inked a glass tray with ColorBox Blends Coconut Ink, added a little water, loaded a paint brush with the color and splattered onto the spines.


I decorated the journal inside with blue and silver cardstock from Momenta. On the cover I fussy cut flowers from a piece of leftover cardstock and adhered to the cover. 


Next I added a metal frame and before adding a frozen Charlotte doll (I made from a mold) I glued fussy cut butterfly wings I had in my stash to the back. I forgot to add that before gluing down the metal frame I added loops of thread too.


I punched tiny holes into the spine and sewed two buttons into place. Side note I did add a little adhesive to keep the buttons from moving around. I punched a small hole in the cover and before adding the brad I tied off a piece of seam binding and added a bit of adhesive for good measure to hold everything in place.


I adhered mini pom pom trim to the inside cover of the journal and strung elastic cording to hold the little booklets I created in place.


I cut two papers per signature slightly smaller than the journal and stitched together for a total of four booklets.


I used a wide assortment of diecuts and printables that I had leftover from past projects.


The printables I found in a shop called One Crab Apple on etsy.


Creating these little journals are a great way to use up leftover scraps and bit and pieces of embellishments that you have laying around.


Notice the butterfly theme through out the journal.


I used the "wander" diecut from the Journaling Words Diecuts


I always remove the zippers and the zipper pulls from bedding packaging and use them as a "body" for butterflies.


I love adding bits of trim to the edges of the pages for a little interest and texture.


Instead of gluing images completely down on the page I only added glue at the bottom and side to create a nice tuck spot for journaling cards.


More little tuck spots behind this sweet little girl image.


This oval diecut I added glue to the top and bottom so all you have to do is slide a photo or journaling card underneath the oval frame.


Several of the fussy cut butterflies I adhered down the center just in case more journaling notes could be added at a later date.


Some of the pages I kept simple for either journaling or photos that can be added later.


Tim Holtz's Paper Doll where the perfect touch of whimsy throughout this journal.


I turned a journaling spot diecut side ways to create a belly band to hold these two tags.


If you have leftover alphabets use them randomly or as a cute saying in your journal.


I love how the bit of ribbon turned out on the butterfly! It's the perfect color combo! 


The Pom Pom trim adds an adorable touch to the side of this page.


The yellow scalloped piece of cardstock was leftover from a diecut I used on another project. Instead of throwing it away I added it to the bottom of the page for an extra pop of color.


On the last page I added  adhesive to the bottom of the diecut to create a pocket to hold a journaling card.


Now are you as EXCITED as I am about this new wrap journal?!?!?!? There are so many possibilities  with this diecut!!! Be sure to hop on over to Eileen Hull's blog to see what the rest of the team is doing with this amazing diecut! You can find last week's blog post HERE.


As always if you have any type of question about this project, the wrap journal, etc. please let me know.


Also I would like to submit this project for the following challenges:
Word Art Wednesday Challenge: #338-#339
Crafter's Castle Challenge: #6
Simon Monday Challenge: Anything But A Card
Mini Album Makers Challenge: June Mini Albums


Thanks for stopping by, hope your Wednesday is awesome and enjoy creating!