Showing posts with label Dyestress Ink. Show all posts

Wednesday, September 4, 2019

Blooms and Birds Tag

 Hi everyone! I am back this week with a tag that I created for ColorBox but never got to share.


For this tag I place it into the Mosaic Gems 3D Embossing Folder and ran through the Diecut MachineI then inked the glass tray with the following Dyestress Blendable Dye Inks: Mint, Citronella and Moss added water to each ink and randomly painted the tag completely with a Paint Brush.


Once the tag dried I inked an Art Dauber with Mint Dyestress Blendable Dye Ink and lightly inked over the embossed areas of the tag.


I inked the Faux Postal Rollagraph with Wicked Black Archival Dye Ink and rolled onto a piece of White Chipboard. I cut the bird and floral stamps out with a Paper Cutter.


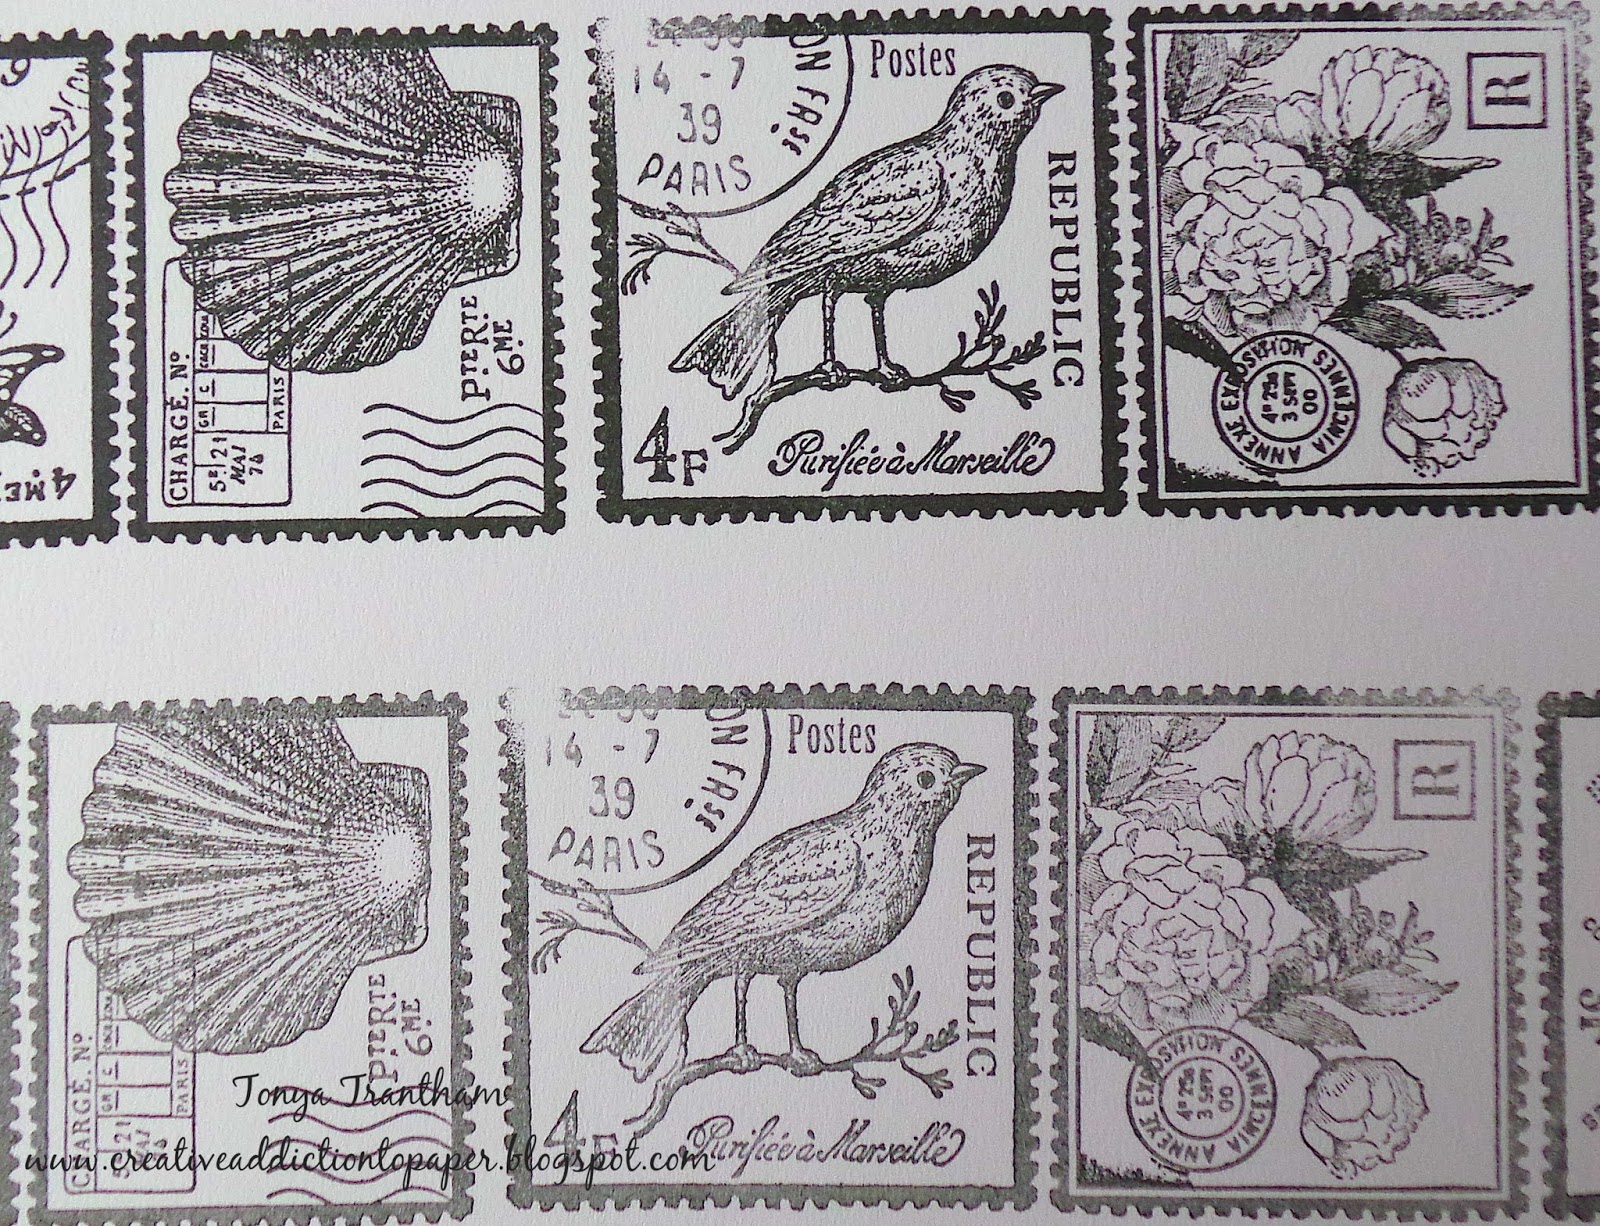
I inked a glass tray and watercolored the bird stamp with the following Dyestress Blendable Dye Inks: Moonstone whole bird body, Caribbean tail feathers and chest, Palomino tree branches, Moss-leaves and Tomato-beak and legs. Next I inked the glass tray and watercolored the floral stamp with the following Dyestress Blendable Dye Inks: Princess-flowers and Moss-leaves. I placed Crinoline Fabric on top of the Journaling Card, Flowers and Leaves Diecuts and cut out two sets of flower diecuts. For the flowers I inked the glass tray and watercolored seven flowers with the following Dyestress Blendable Dye Inks: Princess, Posy and Mulberry and let dry. I inked the Leafy Border Molding Mat with Wicked Black Archival Dye Ink and applied onto a piece of Watercolor Paper and cut leaves out with ScissorsI cleaned off the glass tray and inked and watercolored the leaf with the following Dyestress Blendable Dye Inks: Moss and Citronella and while still wet shaped the leaf and let dry.


I adhered the bird stamp image to the tag with a small portion slightly off the tag and I added foam pop dots to back of floral stamp image and placed a small portion slightly off on the other side of the tag.


I added a drop of adhesive to the center of six flowers, placed on top of each other, pinched all together in the center and shaped. 


I added sequin and a pearl to center of flower and a leaf to the back and adhered to the  postal stamp images. I added a smaller flower with sequin and pearl to the bird stamp image along with several loops of thread. I finished the tag by adhering scraps of pom pom trim, lace and pearls to bottom corner of tag and a button on top of trim. I also cut two 8 inch pieces of white seam binding and tied in a bow at the top of tag. As always if you have any questions about this project please let me know.


Supplies

ColorBox: Art Daubers
ColorBox: Moss Dyestress Blendable Dye Ink
ColorBox: Tomato Dyestress Blendable Dye Ink
ColorBox: Princess Dyestress Blendable Dye Ink
ColorBox: Posy Dyestress Blendable Dye Ink
ColorBox: Mulberry Dyestress Blendable Dye Ink
ColorBox: Faux Postal Rollagraph 
Tag
Glass Tray
Sizzix/Courtney Chilson: Mosaic Gems 3D Embossing Folder
Crinoline Fabric
Pom Pom Trim
Lace
Pearls
Thread
Sequins
Seam Binding

(Products listed above are Affiliated Links for your convenience)


Thanks for stopping by, hope your Wednesday is awesome and enjoy creating!


Saturday, May 4, 2019

Floral Wreath Hello Card

Hi everyone! I am back this month with a quick card I created for Momenta.


I started by cutting a piece of white cardstock to fit inside the Thanks Floral Wreath Cut and Embossing Folder with I ran through a Diecut Machine. I inked an Art Dauber with Mint Dyestress Blendable Dye Ink and inked over the embossed wreath.


I cut a mat from the Peony Paper Pad to back the embossed wreath. From the same paper pad I fussy cut a flower and leaves from one of the papers. The Metallic Paper Pad I cut  the hello sentiment using the hello diecut from the Thanks Floral Wreath Cut and Embossing Folder and Diecuts before running through the diecut machine I backed the cardstock with an Adhesive Sheet. I adhered the flower to the corner of the wreath and I peeled the backing off the hello sentiment before adding to the center of the wreath.


I added clear glitter glue to the center of the flower and leaves. I also made several messing bows from thread.


I adhered the messy bows underneath the flower and added sequins to the front of the card.


I cut a piece of cardstock from the Peony Paper Pad  6"x11" and folded in half. I adhered the 'hello" wreath to the front of the card base. There you have it a card made in less than an hour. As always if you have questions about this project please let me know and be sure to check out Momenta for more project ideas.


SUPPLIES

Momenta: Thanks Floral Wreath Cut and Embossing Folder and Diecuts
Momenta: Peony Paper Pad
Momenta: Metallic Paper Pad
ColorBox: Art Dauber 
ColorBox: Mint Dyestress Blendable Dye Ink
Diecut Machine
Sizzix: Adhesive Sheet
Sequins
Thread
Scissors
Paper Cutter
Clear Glitter Glue

(Products listed above are Affiliated Links for your convenience)


Thanks for stopping by, hope your Saturday is wonderful and enjoy creating!


Monday, April 15, 2019

Mom Journal

Hi everyone! With Mother's Day right around the corner I wanted to share an easy project that you can make.


I started by placing the Doily/Scalloped Circle stamp from the Cookies Clear Stamps onto the MISTI Stamping Tool and ink with Wicked Black Archival Dye Ink. I stamped onto a piece of Watercolor Paper and fussy cut the stamped image out. I inked a glass tray with the following inks: Mulberry and Cabernet Dyestress Blendable Dye Inks and added water to each ink. I laid the stamped image into ink mixture and once the image is completely covered I removed and let dry.


I inked the Geranium Pot Wood Stamp with Wicked Black Archival Dye Ink and stamped onto a piece of watercolor paper. I inked the glass tray with the following inks: Princess, Cabernet, Tomato, Bumble Bee, Moss and Inchworm Dyestress Blendable Dye Inks. I added a little amount of water to each ink. Next I painted the Geranium Pot image. The leaves and stems...Inchworm and shade with Moss Dyestress Blendable Dye Inks. The flowers...Princess and the center of each flower with Cabernet Dyestress Blendable Dye Inks. The pot...Tomato and shade with Bubble Bee Dyestress Blendable Dye Inks. Once dry I fussy cut the geranium pot image out and add Clear Glitter Glue to the center of each flower.


I placed a piece of White Chipboard on top of the Stamp and Photo Storage Scoreboard L Diecut   and placed between plates and run through Diecut Machine. I cut two out. I placed the diecut in the Honeycomb Embossing Folder (retired), between two plates and run through the diecut machine. Emboss second diecut too. 


I cut the flap off the top of both diecuts and cut the first fold off the side of each diecut. I added adhesive to the remaining flap and glue to the other flap. This creates the spine of the notebook.


I measured one inch on either end of spine, mark and punched holes. I also measured one inch on either end of  the back cover, marked and punch holes. I threaded elastic through the holes on the back cover and tie off inside.


I removed the cover from a store bought notebook (I found these notebooks at the Dollar Tree). 


I lined up the notebook on the inside of the cover, marked and punch holes. Next I threaded a needle with thread and sewed the notebook to the inside cover and tied off on the inside. I adhered the doily/scalloped circle and geranium pot images to the front cover. 


I placed a scrap of Adhesive Sheet on the back side of a piece of green cardstock and placed the piece of cardstock on top of the "Moments" diecut from the Floral Arch and Words Diecuts. I placed the diecut between plates and run through the diecut machine. I removed the backing from the adhesive and before placing on cover cut off the "ents". The elastic can be placed around the front cover to keep closed when not in use.


As always if you have any questions about this project please let me know.


SUPPLIES USED:

ColorBox: Princess Dyestress Blendable Dye Ink
Sizzix/Eileen Hull: Floral Arch and Words Diecuts
Sizzix/Eileen Hull: Honeycomb Embossing Folder (retired)
Notebook 4"x6"
Scrap of Green Cardstock
Beacon Adhesive: Zip Dry Adhesive
Glass Tray
Elastic 3MM
Studio g: Clear Glitter Glue
Needle
Thread
Paint Brush

(Products listed above are Affiliated Links for your convenience)


Thanks for stopping by, hope your Monday is awesome and enjoy creating!


Friday, April 12, 2019

Littlest Mermaid in the Sea Tag

Hi everyone! I am back again (third time this week) with another project I created for ColorBox. I absolutely LOVE how this tag turned out! It has me in the mood for a day at the beach! So lets get started!


I started by spritzing a glass tray with Cirtus Tickle Smooch Spritz, adding water and laying the tag into the ink mixture. I removed the tag once completely covered and let dry. Next I inked the glass tray with Caribbean Dyestress Blendable Dye Ink, added water, loaded a paint with ink mixture and apply to tag. Once dry I placed the Swirl Dot Art Screen on top of tag and inked an Art Dauber with Tahiti Dyestress Blendable Dye Ink and applied the inked art dauber over the art screen. Once finished I remove the art screen. I inked and art dauber with Capri Dyestress Blendable Dye Ink and ink edges and over the surface of tag. Next I applied to the glass tray the following inks: Aster and Cabernet Dyestress Blendable Dye Ink. I loaded a paint brush with the ink mixtures and splattered the tag and let dry. Side note...set glass tray aside with ink mixture for further use. Second side note...while I tried to link all products, such as the new line of inks, I didn't find all but will try and update as they come available.


I inked the Mimi Mermaid Rubber Stamp with Wicked Black Archival Dye Ink and stamp onto a piece of Watercolor Paper with the MISTI Stamping Tool. I placed watercolor paper onto the middle Delightful Circle Diecut. Place between two plated and run through Diecut Machine. I cut a 3 7/8"x1 3/4" and a 2 1/2"x1" pieces of watercolor paper and placed both in the Tides Embossing Folder. I placed between plates and run through diecut machine. Now I'm ready to  paint/watercolor everything.
I placed the Delightful Circle Diecut into the set aside Aster Dyestress Blendable Dye Ink and cover completely with ink mixture, removed and let dry. I watercolored the Sea Horse image's body with Cabernet Dyestress Blendable Dye Ink and then cleaned the glass tray. 
I inked the glass tray with the following inks: Princess, Caribbean, Tahiti, Tomato, Bumble Bee, Capri and Mint Dyestress Blendable Dye Inks and I added a small amount of water to each ink. I placed the 3 7/8"x 1 3/4" embossed piece of watercolor paper into the Capri Dyestress Blendable Dye Ink and once completely covered remove and let dry.
Next I placed the 2 1/2"x 1" embossed piece of watercolor paper into the Mint Dyestress Blendable Dye Ink and once completely covered I removed and let dry. For the stamped Mermaid image I watercolored with the following inks: Face, arms and upper body...Princess Dyestress Blendable Dye Ink. Lower body/tail...a mix of Caribbean and Tahiti Dyestress Blendable Dye Inks. Seashells and fin of sea horse...Mint Dyestress Blendable Dye Ink. Hair...a mix of Bumble Bee and Tomato Dyestress Blendable Dye Inks. Starfish...Tomato Dyestress Blendable Dye Ink. 


I fussy cut the mermaid and sea horse images out and added clear glitter glue to sea horse fin, seashells, tail and starfish on mermaid. I inked two art daubers, one with Mint and the other with Capri Dyestress Blendable Dye Inks and lightly ink edges of both embossed pieces of watercolor paper and circle diecut. I added foam pop dots to the back of the 3 7/8"x 1 3/4" embossed pieces of watercolor paper and one side of the circle diecut and placed the embossed paper on top of the tag. I added a little glue to the other side of the circle diecut before laying on top of embossed paper. Next I adhered the 2 1/2"x1" embossed paper on top of other embossed paper and circle diecut. I adhered the mermaid image on top of all pieces.


I glued the sea horse to bottom corner of tag and added three gems next to the sea horse. Next I randomly adhere sequins to tag.


I finished the tag by cutting two 10 inch pieces of seam binding. I ran the seam binding through  the hole at the top of tag and tied a bow. As always if you have any questions about this project please let me know.


SUPPLIES USED:

ColorBox: Princess Dyestress Blendable Dye Ink
ColorBox: Art Dauber
ColorBox: Capri Dyestress Blendable Dye Ink
ColorBox: Mint Dyestress Blendable Dye Ink
ColorBox: Aster Dyestress Blendable Dye Ink
Tag
Beacon Adhesive: Zip Dry Adhesive
Glass Tray
Spellbinders: Delightful Circle Diecut
Life Style Crafts: Tide Embossing Folders
Gems
Sequins
Seam Binding
Studio g: Clear Glitter Glue


Thanks for stopping by, hope your Friday is great and enjoy creating! 


Tuesday, February 5, 2019

Lacy Heart Notebook

Hi everyone! I'm back with a quick project I created from a mistake I made...YIKES!  When I was cutting out the cover and spine from the Passport Diecut. I was not thinking and laid the whole sheet of Matboard over the diecut cutting out the pages from matboard too. Well, instead of throwing it away I decided I would use it to create a mini notebook cover and add my own pages to it.


I placed the notebook diecut at the fold in the Lace Embossing Folder and placed and embossed both sides of the notebook. I loaded three Art Daubers with Moonstone, Citronella and Scuba Dyestress Blendable Dye Inks and inked with each color over the outside cover of the notebook.  


Either cut six lined papers or carefully remove six pages from a mini notebook. I choose to remove pages from a mini notebook. 😁 I lined up with  holes of the cover, marked holes and punch with a small hole punch. I threaded white twine into needle and sewed inside pages to the cover and tied off on the inside.


I cut from white cardstock another notebook diecut from the Passport Diecut and cut in half. I cut another 1/4" off each side before adhering both to the inside cover. Next I cut two pieces of aqua cardstock to 2 1/2"x3" and emboss with the Lace Embossing Folder and cut both pockets at an angle and adhere to the inside cover.


I placed the Heart Cookie from the Cookies Clear Stamp onto an Acrylic Block and inked with Moonstone Dyestress Blendable Dye Ink and stamped onto a piece of White Cardstock. I fussy cut the heart out and lightly ink edges with Scuba Dyestress Blendable Dye Ink. I cut from Crinoline Fabric with the Journaling Cards, Heart Diecut using a Diecut Machine and inked one heart with Scuba Dyestress Blendable Dye Ink and let dry. From patterned cardstock I cut the smallest Scalloped Oval from the Spellbinders Nestabilities Classic Scalloped Ovals large Diecuts using a diecut machine and adhered the Scalloped Oval Diecut, stamped heart, inked crinoline heart and two sequins to the front of the cover. I printed from the computer the word "NOTES", cut out and ink edges with Scuba Dyestress Blendable Dye Ink before adhering underneath the hearts on the cover. I use a binder clip to keep notebook closed when not in use.


As always if you have questions about this project please let me know. 
Thanks for stopping by, hope your Tuesday is wonderful and enjoy creating!